Running the App | Remix Firebase SaaS Kit
Learn how to run the app locally for development and testing in Remix Firebase SaaS Kit.
When we run the stack of a Makerkit application, we will need to run a few commands before:
- Remixs: First, we need to run the Remix development server
- Firebase: We need to run the Firebase Emulators. The emulators allow us to run a fully-local Firebase environment.
- Stripe CLI (optional): If you plan on interacting with Stripe, you are also required to run the Stripe CLI, which allows us to test the webhooks from Stripe against our local server.
Why do we need to run the Supabase local environment?
The guide below will show you how to run the application locally. But why locally? Developing locally has many advantages over developing on a remote server:
Speedy Development: Local development lets you work without the hindrance of network latency or internet disruptions.
Simplified Collaboration: It's typically easier to collaborate with teammates when developing locally on the same project.
Code-Based Configuration: Any modifications to your collections via the Dashboard aren't reflected in code. Adopting local development workflows allows you to maintain all table schemas in code.
Once you are ready to deploy your application, you can do so by following the production checklist guide.
Running the Remix development server
Run the following command from your IDE or from your terminal:
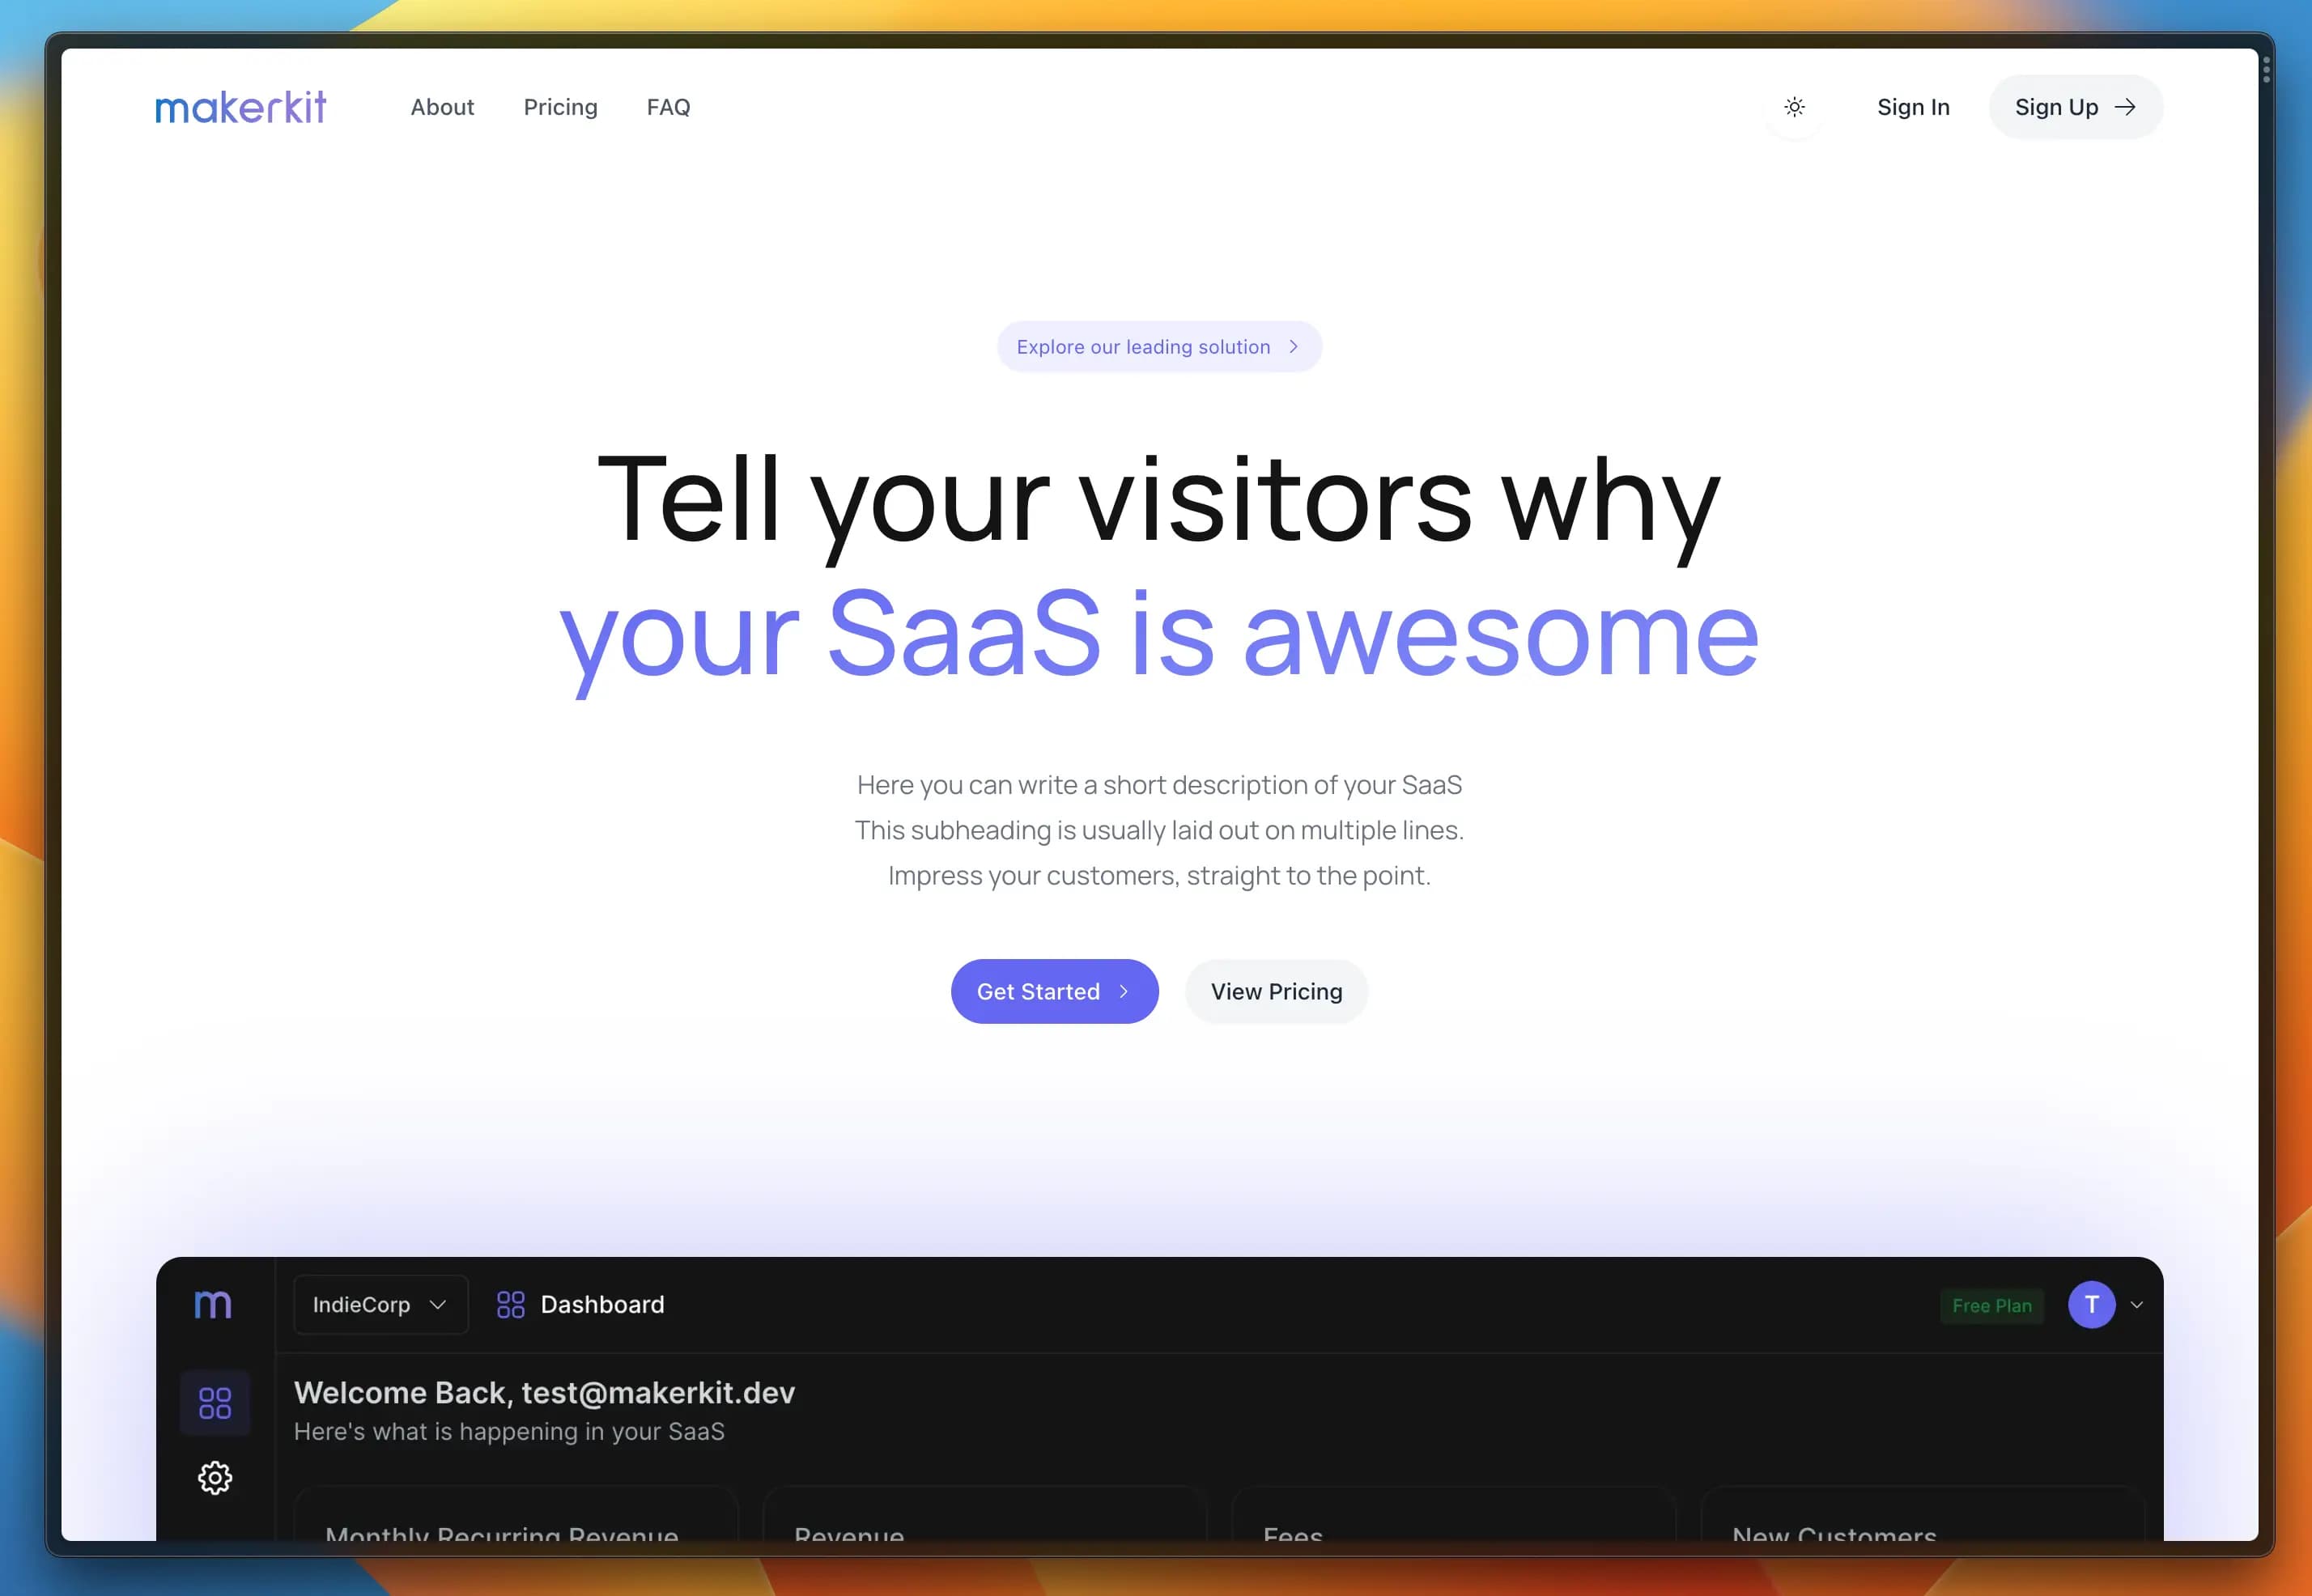
npm run devThis command will start the Remix server at localhost:3000. If you navigate to this page, you should be able to see the landing page of your application:
Running the Firebase Emulators
To interact with Firebase's services, such as Auth, Firestore, and Storage, we need to run the Firebase emulators. To do so, open a new terminal (or, better, from your IDE) and run the following command:
npm run firebase:emulators:startIf everything is working correctly, you will see the output below:
┌────────────────┬────────────────┬─────────────────────────────────┐│ Emulator │ Host:Port │ View in Emulator UI │├────────────────┼────────────────┼─────────────────────────────────┤│ Authentication │ localhost:9099 │ http://localhost:4000/auth │├────────────────┼────────────────┼─────────────────────────────────┤│ Firestore │ localhost:8080 │ http://localhost:4000/firestore │├────────────────┼────────────────┼─────────────────────────────────┤│ Pub/Sub │ localhost:8085 │ n/a │├────────────────┼────────────────┼─────────────────────────────────┤│ Storage │ localhost:9199 │ http://localhost:4000/storage │└────────────────┴────────────────┴─────────────────────────────────┘ Emulator Hub running at localhost:4400 Other reserved ports: 4500, 9150By default, we run the emulator for the following services: Authentication, Firestore, and Storage. However, you can easily add Firebase Functions and PubSub.
Firebase Emulator UI
As you can see from the View in Emulator UI column, you have access to the Emulator UI, which helps you see and edit your Firebase Emulator data using a nifty UI that resembles the Firebase Console.
For example, to display the list of users that have signed up, navigate to the Authentication Emulator.
Makerkit's template adds some data to your project by default for testing reasons. In fact, the data you see is used to run the Cypress E2E tests. This is why you'll see some pre-populated data in your Firestore and Authentication tabs.
Running the Stripe CLI (optional)
Optionally, if you want to run Stripe locally (e.g., sending webhooks to your local server), you will also need to run the following command:
npm run stripe:listenThis command requires Docker, but you can alternatively install Stripe on your OS and change the command to use stripe directly.
The above command runs the Stripe CLI and will route webhooks coming from Stripe to your local endpoint. For example, in the Makerkit starter, this endpoint is /resources/stripe/webhook.
When running the command, it will print a webhook key used to sign the messages from Stripe. You will need to add this key to your local environment variables file as below:
STRIPE_WEBHOOK_SECRET=<KEY>The webhook printed should not change, so you may only need to do this the first time.