Authentication Setup in Next.js Supabase
Learn about the authentication strategies supported by Makerkit and how to configure them.
The Next.js/Supabase template uses Supabase Auth to manage authentication into the internal application.
The kit supports the following strategies:
- Email/Password
- All the oAuth Providers supported by Supabase Auth (Google, GitHub, etc.)
- Phone Number
- Magic Link
You can choose one, more than one, or all of them together, and you can easily tweak this using the global configuration.
By default, the Makerkit SaaS Starter uses Email/Password and Google Auth. If you plan on using more than one together, it would be wise to adjust the UI so they play well together.
How does Authentication work?
First, let's just take a high-level overview of how Makerkit's authentication works.
MakerKit uses SSR throughout the application, except for the marketing pages. Using SSR, we can persist the user's authentication on every page and access the user's object on the server before rendering the page.
This can help you both in terms of UX and DX. In fact, persisting the user's session server-side can help you in various scenarios:
- Simplifying the business logic: for example, checking server-side if a user can access a specific page before rendering that page
- Rendering the user's data server-side by fetching some data from Supabase
Authentication Strategies
To add or tweak the authentication strategies of our application, we can update the configuration:
src/configuration.ts
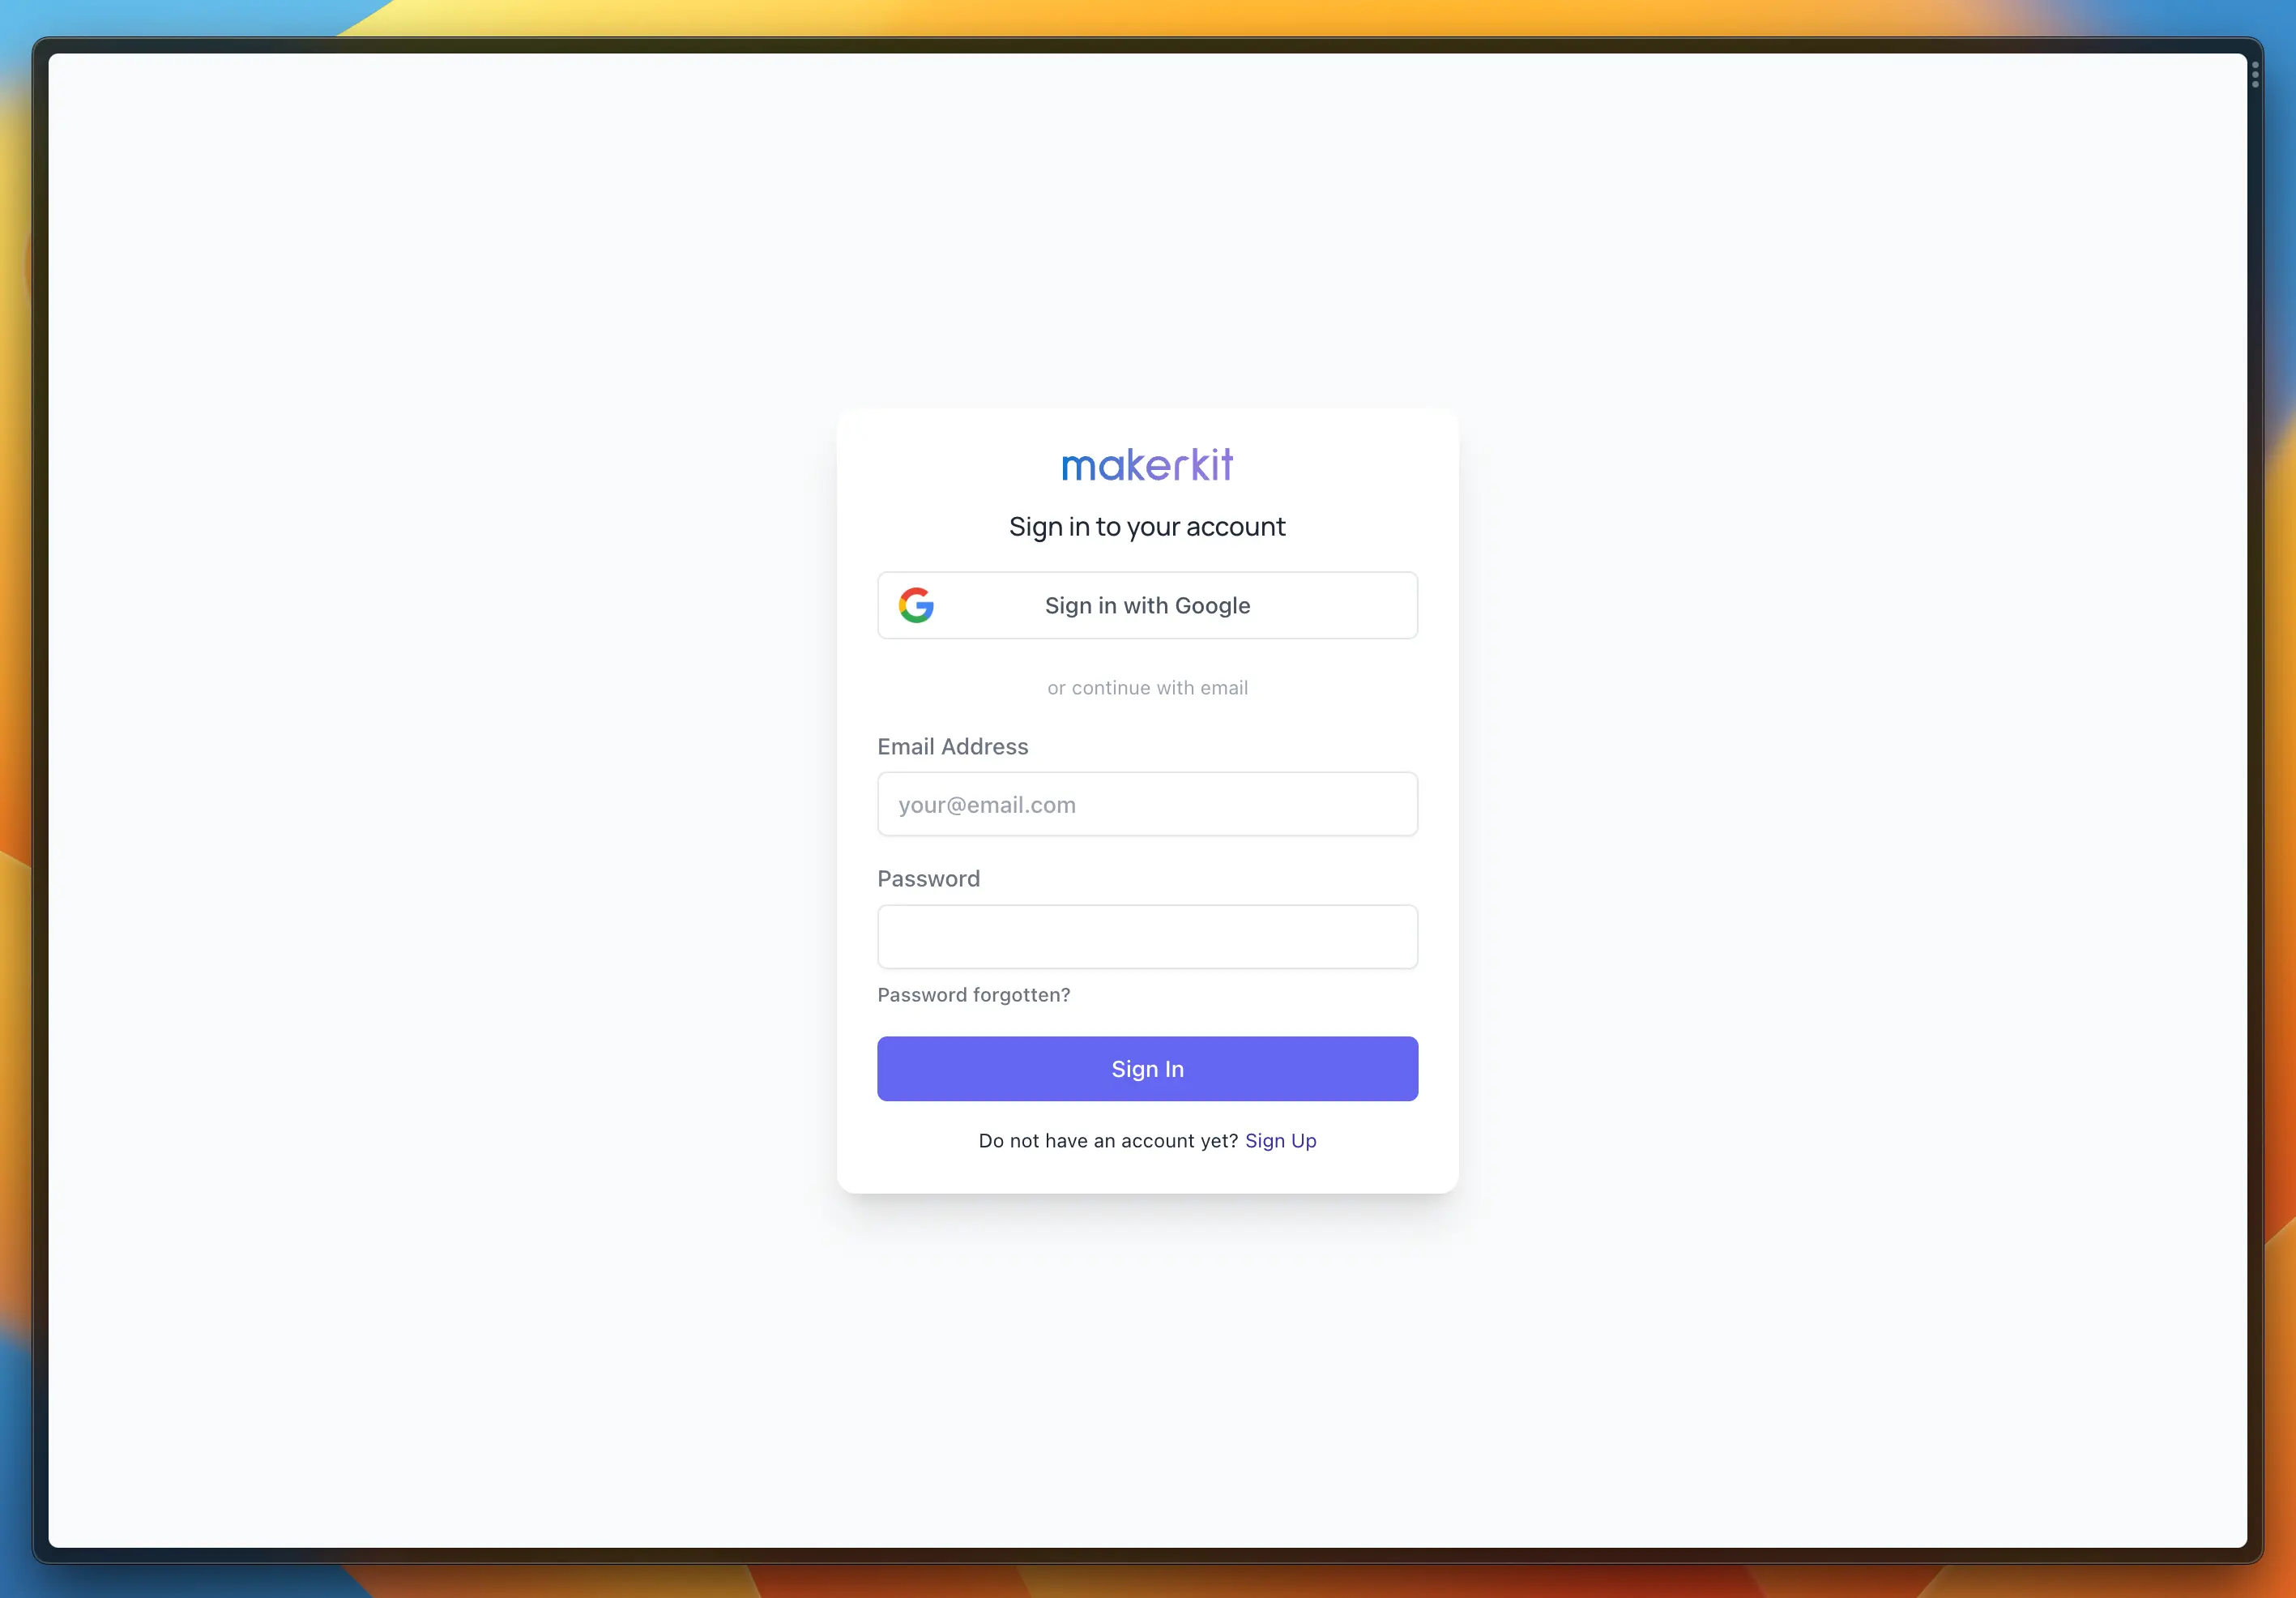
auth: { // NB: Enable the providers below in the Supabase Console // in your production project providers: { emailPassword: true, phoneNumber: false, emailLink: false, oAuth: ['google'] as Provider[], },},Above, you can see the default configuration. It should look like the following:

Ok, cool. But what if we wanted to swap emailPassword with emailLink and add Twitter oAuth?
We will do the following:
src/configuration.ts
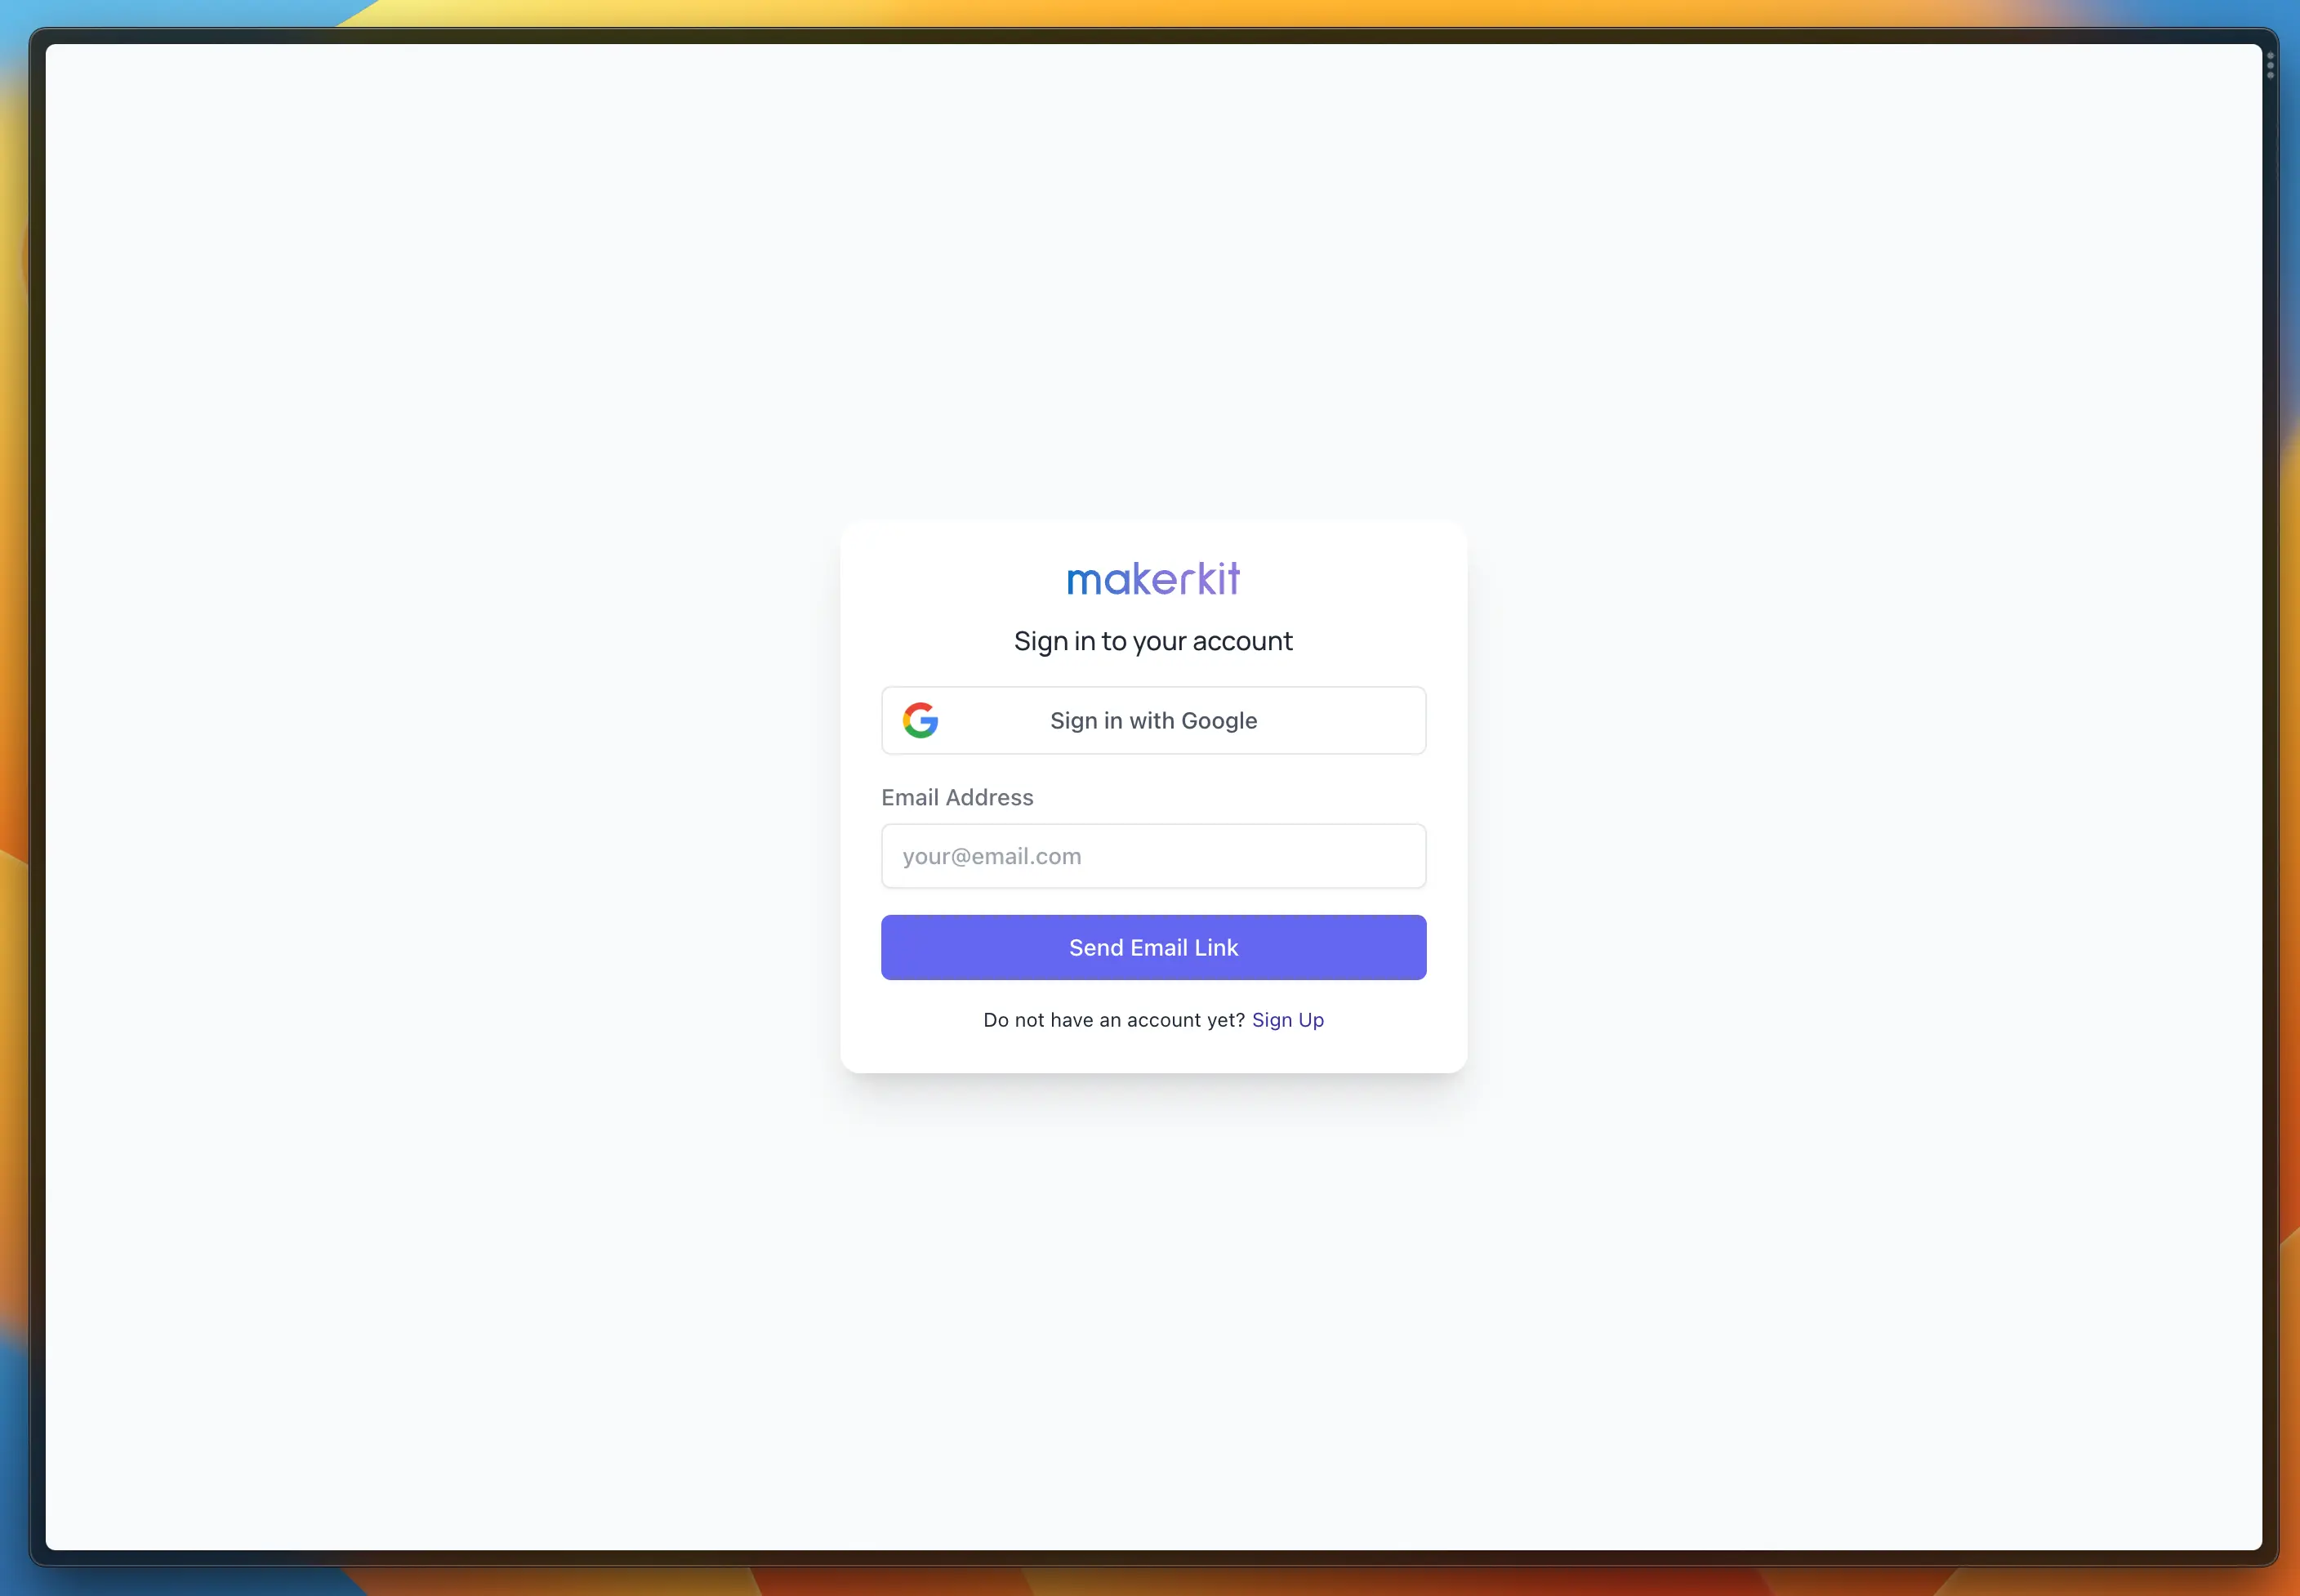
auth: { // NB: Enable the providers below in the Supabase Console // in your production project providers: { emailPassword: false, // set this to false phoneNumber: false, emailLink: true, // set this to true oAuth: ['google', 'twitter'] as Provider[], },},And the result will be similar to the image below:

Creating Accounts
Users can be redirected to the Sign Up page to create an account.
Requiring Email Verification
By default, Supabase requires users to verify their email address before being able to access the application.
To disable this behavior, besides doing it in your Supabase console, you also need to set the requireEmailVerification flag to false using the following environment variable:
.env
REQUIRE_EMAIL_VERIFICATION=falseThis will let the application know that you don't want to require email verification.
NB: this may not work with the latest Supabase versions - so please double check with the Supabase support team if you are having issues.
Emails sent by Supabase
Supabase spins up an InBucket instance where all the emails are sent: this is where you can find emails related to password reset, sign-in links, and email verifications.
To access the InBucket instance, you can go to the following URL: http://localhost:54324/. Save this URL, you will use it very often.