Running the App
Learn how to run the app locally for development and testing.
Running the project
When we run the stack of a Makerkit application, we will need to run a few commands before:
- Remix: First, we need to run the Remix development server
- Supabase: We need to run the Supabase local environment using Docker
- Stripe CLI (optional): If you plan on interacting with Stripe, you are also required to run the Stripe CLI, which allows us to test the webhooks from Stripe against our local server.
Why do we need to run the Supabase local environment?
The guide below will show you how to run the application locally. But why locally? Developing locally has many advantages over developing on a remote server:
Speedy Development: Local development lets you work without the hindrance of network latency or internet disruptions.
Simplified Collaboration: It's typically easier to collaborate with teammates when developing locally on the same project.
Cost Efficiency: Supabase offers a generous free tier, including two free projects. However, if you need more than two, local development comes into play. You can create countless local projects and establish links with live projects at your convenience for launch.
Code-Based Configuration: Any modifications to your tables via the Dashboard aren't reflected in code. Adopting local development workflows allows you to maintain all table schemas in code.
Once you are ready to deploy your application, you can do so by following the production checklist guide.
Fore more information, check out the Supabase documentation.
Adding the environment variables file
The kit comes with a template of what your .env file should look like named .env.template.
Before you continue: rename .env.template to .env, or copy its contents to .env.
This file won't be committed to git. When you deploy your production app, ensure you add the environment variables using your CI/Service.
NB: Remix does not use the .env file when bundling the application in production mode.
Building the Content using Contentlayer
Before running the application, we need to build the content using Contentlayer. To do so, run the following command:
npm run contentlayer:buildRunning the Remix development server
Run the following command from your IDE or from your terminal:
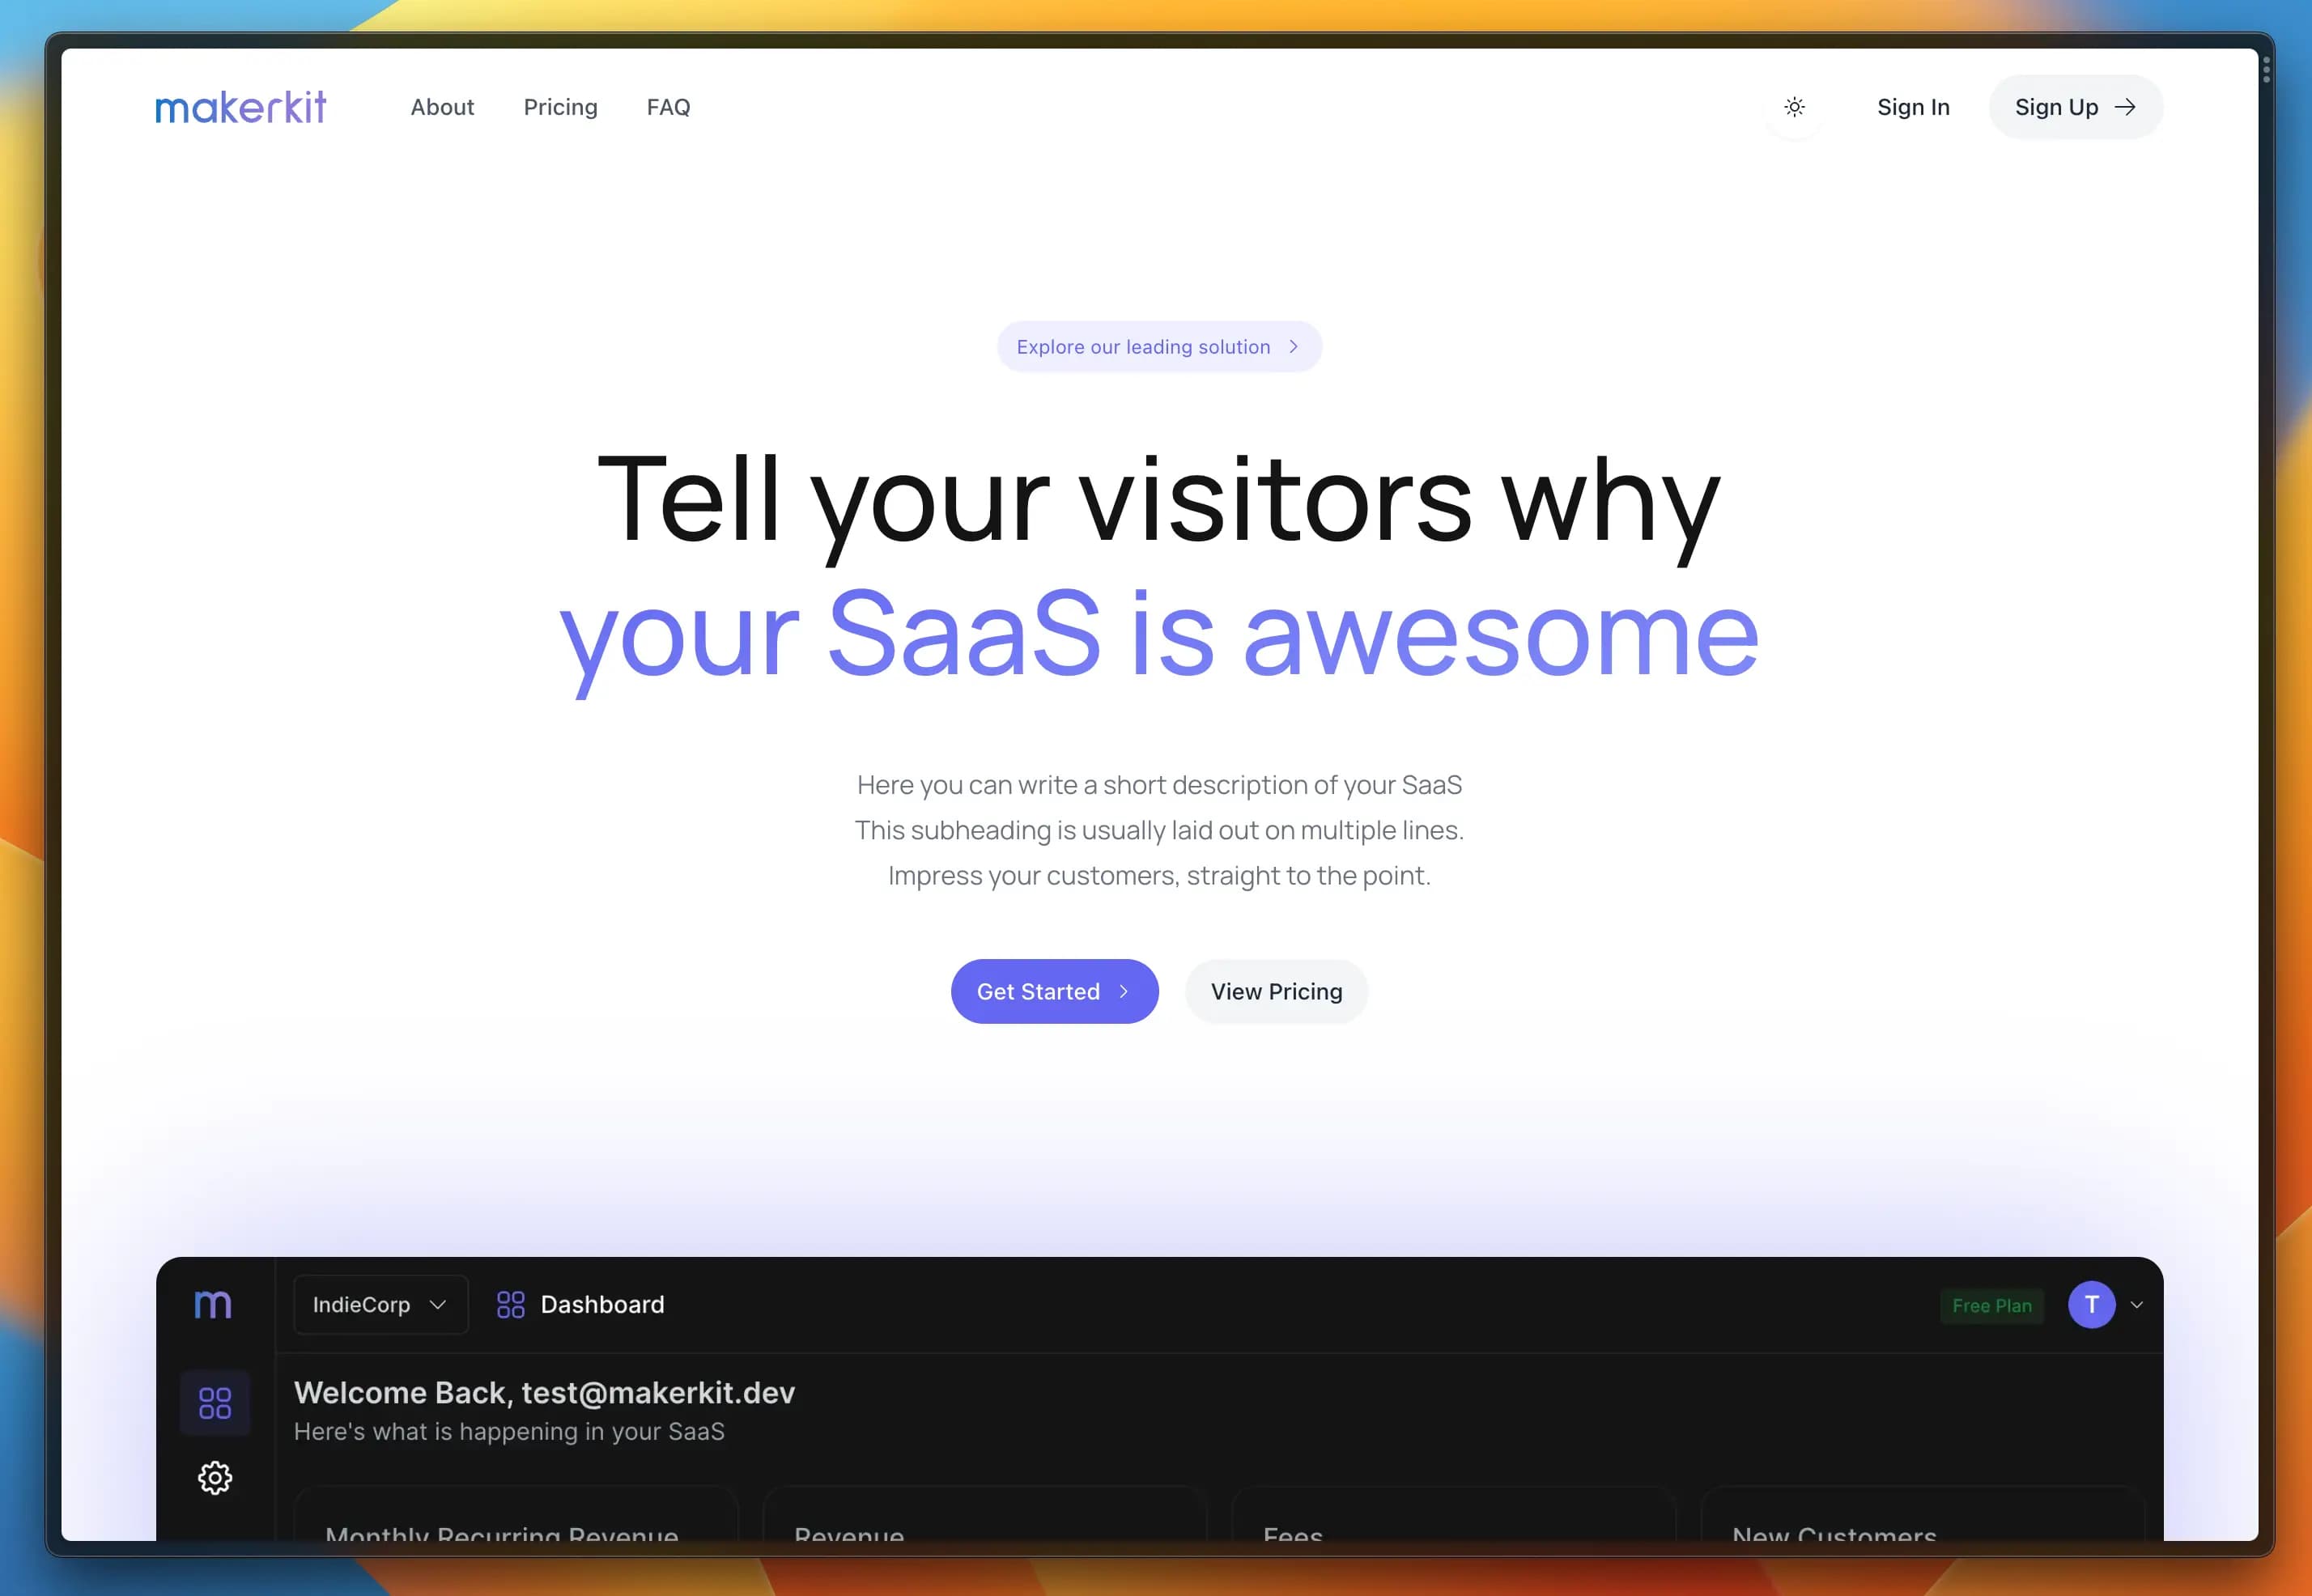
npm run devThis command will start the Remix server at localhost:3000. If you navigate to this page, you should be able to see the landing page of your application:
Running the Supabase Local environment
To run the Supabase local environment, we need to first run Docker. Then, open a new terminal (or, better, from your IDE) and run the following command:s
npm run supabase:startIf everything is working correctly, you will see the output below:
> supabase startApplying migration 20221215192558_schema.sql...Seeding data supabase/seed.sql...Started supabase local development setup. API URL: http://localhost:54321 DB URL: postgresql://postgres:postgres@localhost:54322/postgres Studio URL: http://localhost:54323 Inbucket URL: http://localhost:54324 JWT secret: super-secret-jwt-token-with-at-least-32-characters-long anon key: ****************************************************service_role key: ****************************************************Now, we need to copy the anon key and service_role key values and add them to the .env file:
SUPABASE_ANON_KEY=****************************************************SUPABASE_SERVICE_ROLE_KEY=****************************************************When you need to stop the development environment, you can run the following command:
npm run supabase:stopSupabase Studio UI
To access the Supabase Studio UI, open a new tab in your browser and navigate to http://localhost:54323.
Makerkit's template adds some data to your project by default for testing reasons. In fact, the data you see is used to run the Cypress E2E tests. This is why you'll see some pre-populated data in your project.
Running the Stripe CLI (optional)
Optionally, if you want to run Stripe locally (e.g., sending webhooks to your local server), we need two more steps.
- Have a Stripe account
- Have Docker installed and running
- Run the Stripe CLI (or install Stripe on your OS)
To run the CLI, run the following command:
npm run stripe:listenWhen running the command above for the first time, Stripe will ask you to login. You can do so by following the instructions in the terminal.
After signing in, run the command again.
npm run stripe:listenThe above command runs the Stripe CLI and will route webhooks coming from Stripe to your local endpoint. For example, in the Makerkit starter, this endpoint is /resources/stripe/webhook.
When running the command, it will print a webhook key used to sign the messages from Stripe. You will need to add this key to your local environment variables file as below:
STRIPE_WEBHOOK_SECRET=<KEY>The webhook printed should not change, so you may only need to do this the first time.
Signing In for the first time
You should now be able to sign in. To quickly get started, use the following credentials:
email = test@makerkit.devpassword = testingpasswordEmail Confirmations for Testing with InBucket
When signing up, Supabase sends an email confirmation to a testing account.
You can access the InBucket testing emails at http://localhost:54324/monitor, and can follow the links to complete the sign up process.
InBucket is started automatically when you run npm run supabase:start.