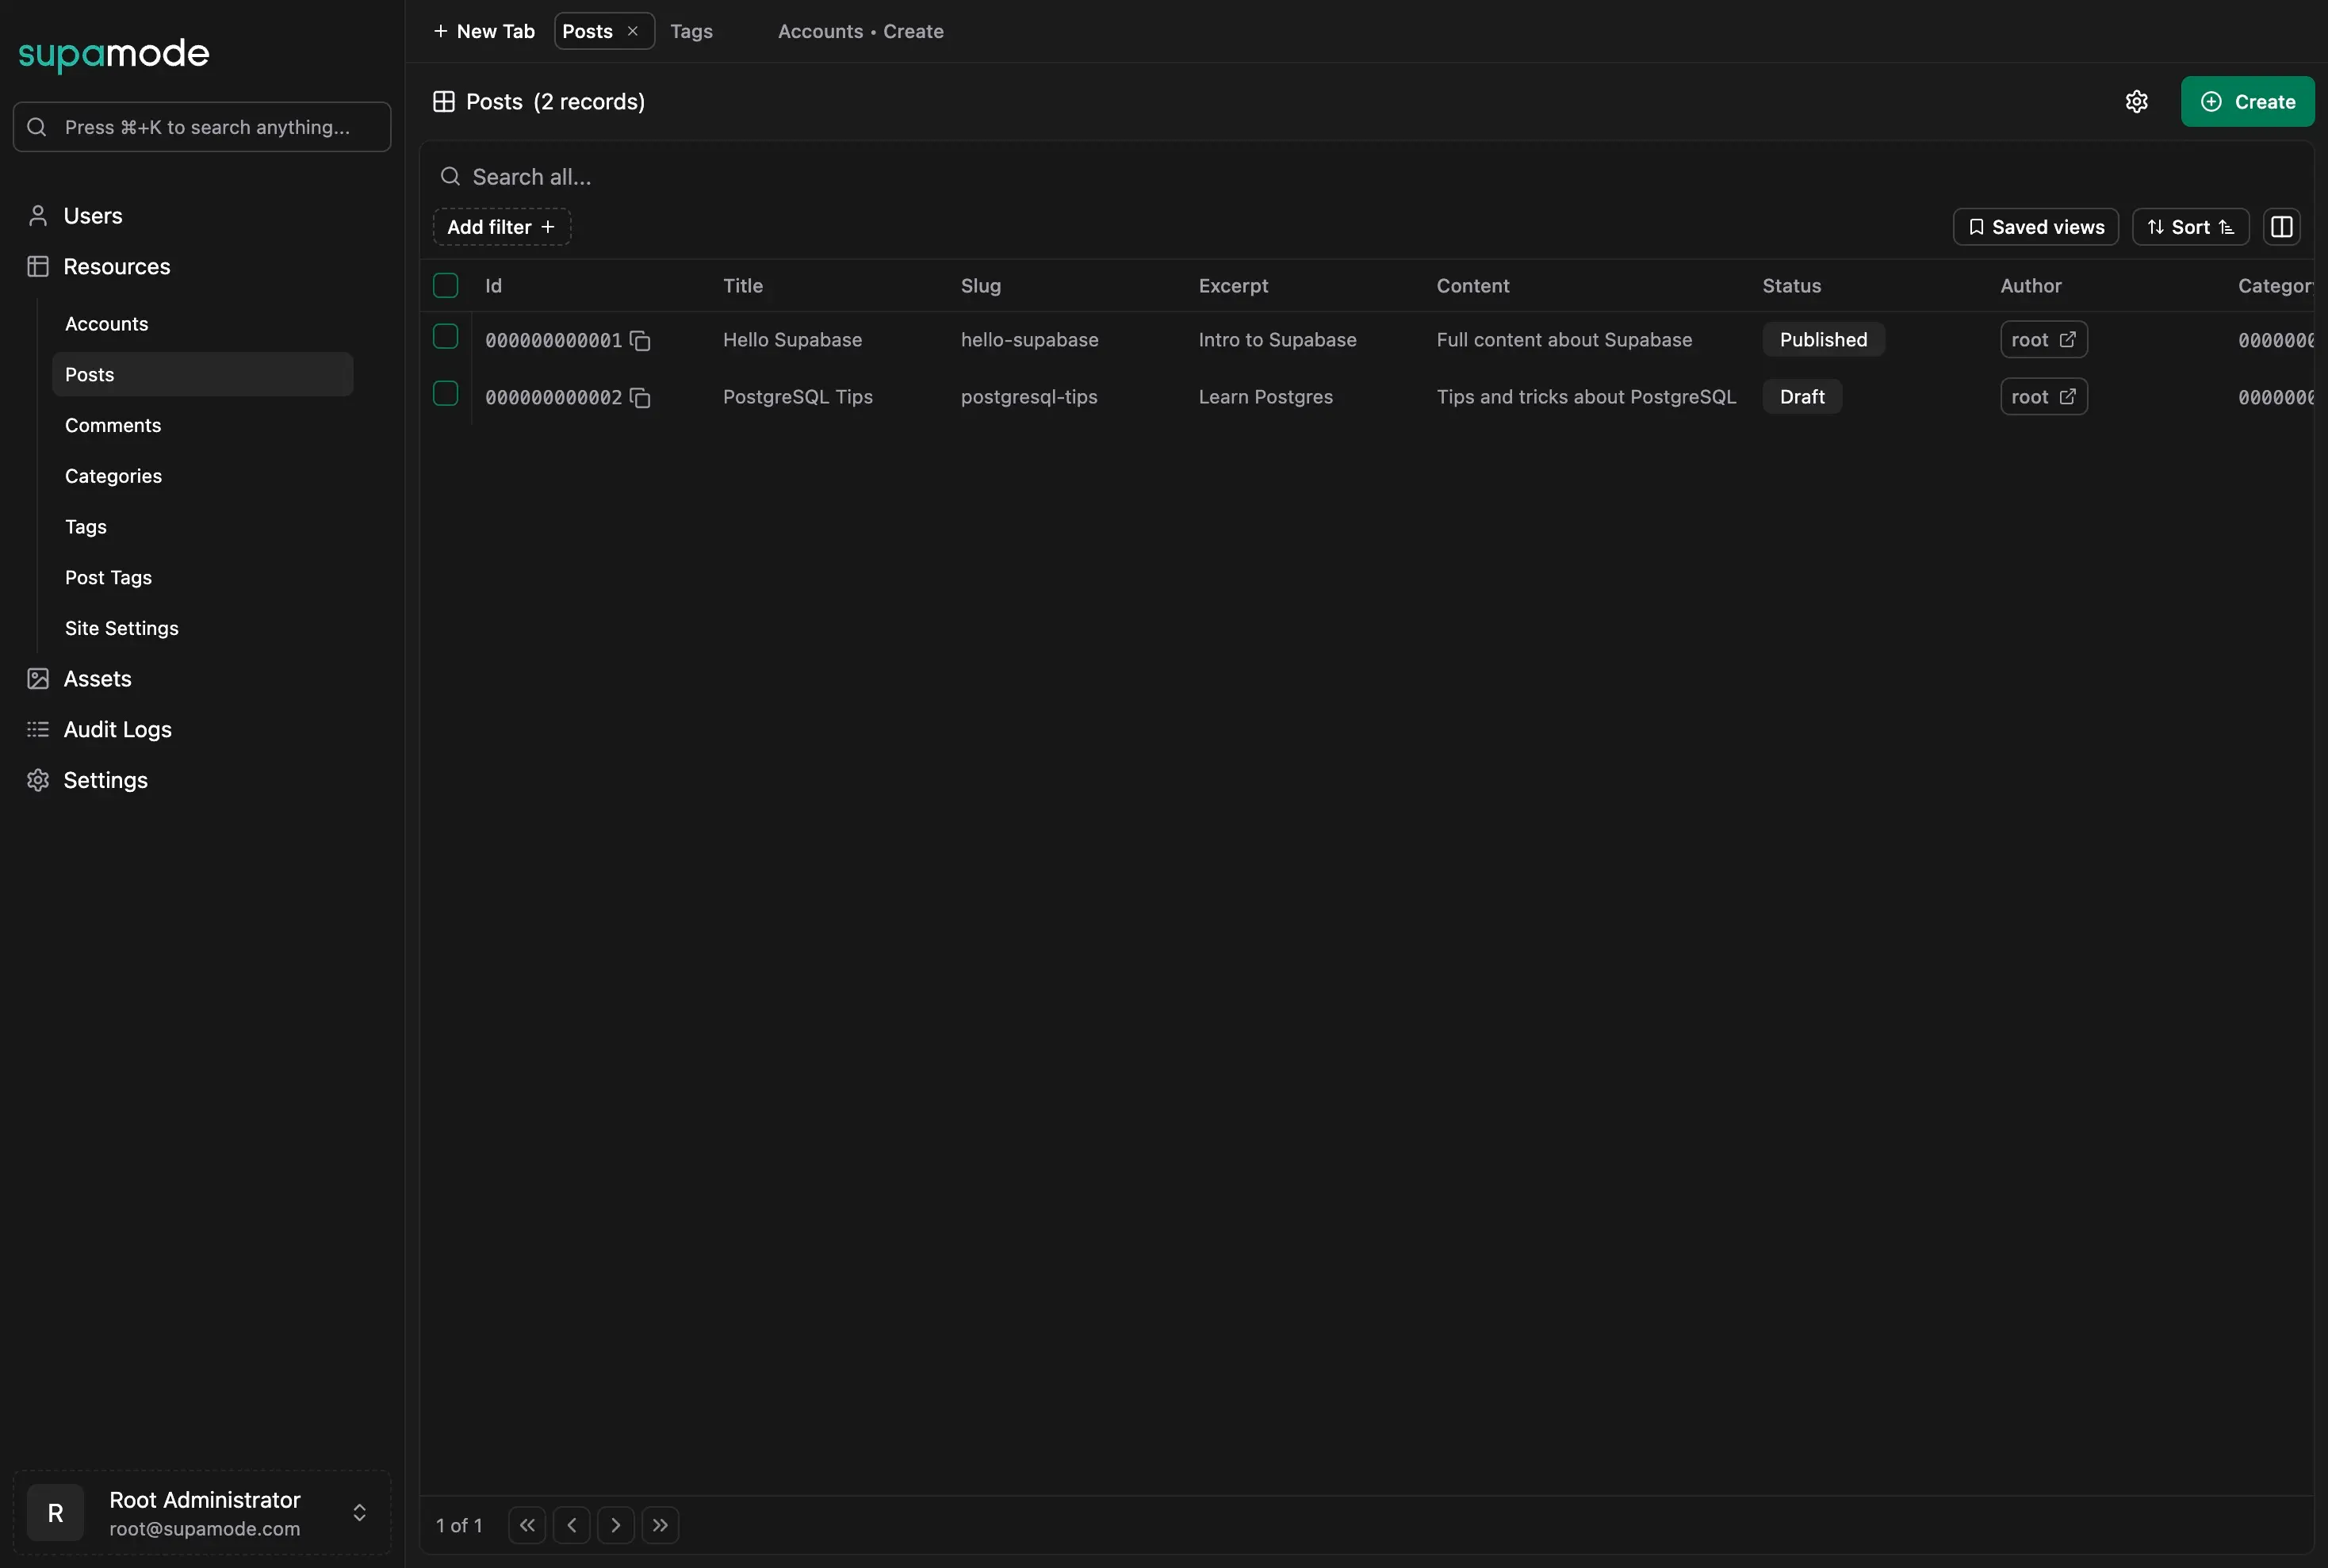
Data Explorer Navigation and Search
Navigate, filter, and search your Supabase database with zero SQL. Learn about tabs, saved views, full-text search, and advanced filtering options.
The Data Explorer lets you browse, search, and manage your database records without writing SQL. Unlike Supabase Studio, Supamode's Data Explorer integrates with your permission system, so users only see and edit data they have access to.
Key capabilities:
- Full-text search across all tables
- Smart filters for text, dates, numbers, booleans, and references
- Saved views for frequently-used filter combinations
- Tabbed navigation for working with multiple records
- Global search (
Cmd+K) to find any record instantly

Accessing the Data Explorer
Navigate to Resources in the sidebar. You'll see a list of tables you have access to.
Tables appear in the Data Explorer when:
- Synced: The table was added to Supamode using
supamode.sync_managed_tables() - Permitted: Your role has data permissions for the table
Syncing Tables
Tables must be synced before they appear. Run this SQL in Supabase Studio:
-- Sync a single tableselect supamode.sync_managed_tables('public', 'users');-- Sync all tables in a schemaselect supamode.sync_managed_tables('public');See Configuring Tables for complete sync instructions.
Data Permissions
Your role determines which tables you can access. If a table is synced but not visible, check your role permissions.
Tabbed Navigation
The Data Explorer uses browser-style tabs for multitasking. Keep multiple records or tables open simultaneously.
Tab behavior:
- Clicking a record opens it in the current tab
- Already-open records switch to their existing tab
- Click New Tab to open a fresh tab

Full-Text Search
The search bar at the top of each table performs full-text search across all searchable columns.

Search queries all columns marked as searchable in table settings. To exclude columns from search (like long text fields), disable their searchability in configuration.
Column Filters
Click any column header or use the filter dropdown to add filters. Operators change based on column type.
Text Filters
Filter text columns with operators like Equals, Contains, Starts With, and Ends With.

Change the operator to broaden or narrow results:

Date Filters
Date columns support relative and absolute filtering:
Relative dates: Last 7 days, This month, Last quarter

Absolute dates: Specific date or date range

Date ranges: Filter records between two dates

Boolean Filters
Toggle to filter by true/false values.

Numeric Filters
Filter numbers with Equals, Greater Than, Less Than, and Between operators.

Reference Filters
Foreign key columns show a searchable dropdown with related records.

Enum Filters
Enum columns display a multi-select dropdown with all valid values.

Global Search
Press Cmd+K (Mac) or Ctrl+K (Windows) to open global search. This searches across all tables you have access to.

Global search is the fastest way to find any record. Results are grouped by table, and clicking a result opens it in your current tab.
Sorting
Click any column header to sort by that column. Click again to toggle between ascending and descending order.

The current sort column appears in the toolbar next to Saved Views.
Saved Views
Save filter and sort combinations as named views. Share views with specific roles to give team members pre-configured data access.
Example views:
- Active Users:
status = active - Recent Orders:
created_at > last 7 days - Unpaid Invoices:
status = pending AND amount > 0 - Inactive 30+ Days:
last_login < 30 days ago

Creating a saved view:
- Apply your filters and sorting
- Click Save View
- Name the view
- Optionally share with specific roles

Relative date filters (like "last 30 days") update automatically, keeping views current without manual updates.
Column Customization
Pinned Columns
Pin columns to keep them visible while scrolling horizontally. Pinned columns stay on the left side of the table.

Column settings are user-specific and persist across sessions.
Batch Actions
Select multiple records using the checkbox column, then use the batch actions bar.

Currently supported: Batch Delete. Select records and click Delete Selected to remove multiple records at once.
Next Steps
- Create and edit records to learn about CRUD operations
- Configure tables to customize display names and formats
- Set up permissions to control who can access what