Embeddable widgets let your customers add your product to their site with a single script tag. Intercom, Drift, Hotjar, and dozens of analytics tools use this pattern.
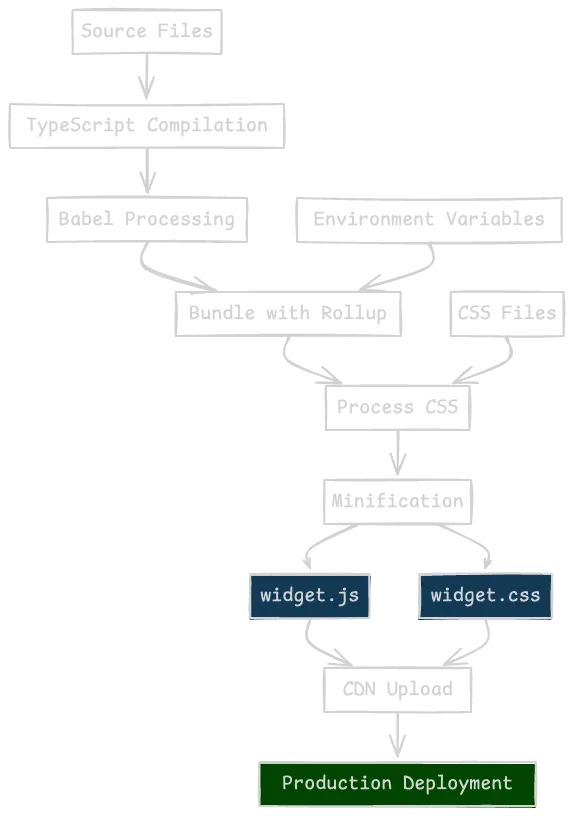
This guide shows you how to build one: a React component bundled as a standalone JavaScript file, styled with Tailwind CSS, and isolated from host page styles using Shadow DOM. Tested with Vite 6, Rollup 4, React 19, and Node 22.
An embeddable React widget is a self-contained JavaScript bundle that renders a React component on any website via a single <script> tag. It uses Shadow DOM for style isolation and Rollup to produce an IIFE bundle that runs immediately when loaded.
What you'll build:
- A Vite + React project with a separate widget entry point
- A Rollup config that outputs a single IIFE bundle (~45KB gzipped for a basic widget)
- Shadow DOM isolation so your styles never leak
- Environment-based configuration for dev and production
The complete source code is on GitHub. Clone it and follow along.
When to Use This Approach
Use embeddable widgets when:
- Your widget must work on any website regardless of their tech stack
- You need complete style isolation from host pages
- Your customers are non-technical and need a one-line install
- You're building chat, feedback, analytics, or support tools
Consider alternatives when:
- The widget only runs on domains you control (use a regular React component)
- Bundle size is critical and you need under 20KB (consider vanilla JS)
- You need deep integration with the host page's state (use npm package instead)
If unsure: Start with Shadow DOM isolation. You can always remove it later, but retrofitting isolation onto an existing widget is painful.
Project Setup
Create a new Vite project:
npm create vite@latest react-widget -- --template react-tscd react-widgetInstall the dependencies (npm shown; substitute pnpm or yarn as preferred):
npm install react react-domnpm install -D tailwindcss postcss tslib \ @rollup/plugin-babel @rollup/plugin-commonjs \ @rollup/plugin-node-resolve @rollup/plugin-typescript \ @rollup/plugin-terser @rollup/plugin-replace \ rollup rollup-plugin-postcss rollup-plugin-polyfill-node \ rollup-plugin-tsconfig-paths rollup-plugin-inject-process-env \ rollup-plugin-visualizer \ @babel/preset-react @babel/preset-typescript \ @types/react @types/react-dom typescript @types/node dotenvProject Structure
Organize the project to separate widget code from the Vite dev app:
react-embeddable-widget/├── src/│ ├── widget/│ │ ├── components/│ │ ├── lib/│ │ ├── styles/│ │ └── index.tsx # Widget entry point│ ├── App.tsx # Vite dev app (for testing)│ └── main.tsx├── rollup.config.mjs├── tailwind.config.mjs├── postcss.config.cjs├── .env.development└── .env.productionThe src/widget/ directory contains everything that ships to customers. The root src/ files are your local dev environment for testing the widget with hot reload.
Rollup Configuration
Rollup bundles your React widget into a single IIFE (Immediately Invoked Function Expression) that runs when loaded:
rollup.config.mjs
import babel from '@rollup/plugin-babel';import commonjs from '@rollup/plugin-commonjs';import nodeResolve from '@rollup/plugin-node-resolve';import replace from '@rollup/plugin-replace';import terser from '@rollup/plugin-terser';import typescript from '@rollup/plugin-typescript';import { config } from 'dotenv';import { parseArgs } from 'node:util';import injectProcessEnv from 'rollup-plugin-inject-process-env';import nodePolyfills from 'rollup-plugin-polyfill-node';import postcss from 'rollup-plugin-postcss';import tsConfigPaths from 'rollup-plugin-tsconfig-paths';import { visualizer } from 'rollup-plugin-visualizer';const args = parseArgs({ options: { environment: { type: 'string', short: 'e', default: 'development', }, },});const env = args.values.environment;const production = env === 'production';const envFile = production ? './.env.production' : './.env.development';console.log(`Building widget for ${env}...`);const ENV_VARIABLES = config({ path: envFile }).parsed;const fileName = ENV_VARIABLES.WIDGET_NAME || 'widget.js';export default { input: './src/widget/index.tsx', output: { file: `dist/${fileName}`, format: 'iife', sourcemap: false, inlineDynamicImports: true, globals: { 'react/jsx-runtime': 'jsxRuntime', 'react-dom/client': 'ReactDOM', react: 'React', }, }, plugins: [ tsConfigPaths({ tsConfigPath: './tsconfig.json' }), replace({ preventAssignment: true }), typescript({ tsconfig: './tsconfig.json' }), nodeResolve({ extensions: ['.tsx', '.ts', '.json', '.js', '.jsx', '.mjs'], browser: true, dedupe: ['react', 'react-dom'], }), babel({ babelHelpers: 'bundled', presets: [ '@babel/preset-typescript', ['@babel/preset-react', { runtime: 'automatic', targets: '>0.1%, not dead, not op_mini all', }], ], extensions: ['.js', '.jsx', '.ts', '.tsx', '.mjs'], }), postcss({ extensions: ['.css'], minimize: true, extract: true, inject: { insertAt: 'top' }, }), commonjs(), nodePolyfills({ exclude: ['crypto'] }), injectProcessEnv(ENV_VARIABLES), terser({ ecma: 2020, mangle: { toplevel: true }, compress: { module: true, toplevel: true, unsafe_arrows: true, drop_console: true, drop_debugger: true, }, }), visualizer(), ],};Yes, that's a lot of plugins. Widget bundling is fiddly.

PostCSS and Tailwind Config
postcss.config.cjs
module.exports = { plugins: { tailwindcss: "./tailwind.config.mjs" }}tailwind.config.mjs
export default { content: ["./src/**/*.{js,jsx,ts,tsx}"], theme: { extend: {} }, plugins: []}Building the Widget Components
State Management with Context
Create a context for widget state. This keeps things simple without external dependencies:
src/widget/lib/context.ts
import { createContext } from 'react';interface WidgetContextType { isOpen: boolean; setIsOpen: (isOpen: boolean) => void; clientKey: string;}export const WidgetContext = createContext<WidgetContextType>({ isOpen: false, setIsOpen: () => undefined, clientKey: '',});Widget Container
The container manages mounting state and provides context:
src/widget/components/widget-container.tsx
import { useState, useEffect } from 'react';import { WidgetContext } from '../lib/context';import { Widget } from './widget';interface WidgetContainerProps { clientKey: string;}export function WidgetContainer({ clientKey }: WidgetContainerProps) { const [mounted, setMounted] = useState(false); const [isOpen, setIsOpen] = useState(false); useEffect(() => { setMounted(true); }, []); if (!mounted) { return null; } return ( <WidgetContext.Provider value={{ isOpen, setIsOpen, clientKey }}> <Widget /> </WidgetContext.Provider> );}The Widget component contains your actual UI (button, popup, chat interface, etc.). See the full implementation on GitHub.
Widget Styles
Use Tailwind's @apply directive in a dedicated CSS file:
src/widget/styles/style.css
.widget-container { @apply fixed bottom-5 right-5 w-[300px] h-[400px] bg-white border border-gray-200 rounded-lg shadow-lg z-[9999];}.widget-button { @apply fixed bottom-5 right-5 px-6 py-3 bg-indigo-600 text-white border-none rounded-lg cursor-pointer z-[9999];}.widget-header { @apply p-3 border-b border-gray-200 flex justify-between items-center;}.widget-content { @apply p-4;}The Entry Point: Shadow DOM Isolation
The entry point initializes the widget, creates a Shadow DOM container, and injects styles. This isolation prevents your CSS from affecting the host page and vice versa:
src/widget/index.tsx
import { hydrateRoot } from 'react-dom/client';import { WidgetContainer } from './components/widget-container';import './styles/style.css';function initializeWidget() { if (document.readyState !== 'loading') { onReady(); } else { document.addEventListener('DOMContentLoaded', onReady); }}function onReady() { try { const element = document.createElement('div'); const shadow = element.attachShadow({ mode: 'open' }); const shadowRoot = document.createElement('div'); const clientKey = getClientKey(); shadowRoot.id = 'widget-root'; const component = <WidgetContainer clientKey={clientKey} />; shadow.appendChild(shadowRoot); injectStyle(shadowRoot); hydrateRoot(shadowRoot, component); document.body.appendChild(element); } catch (error) { console.warn('Widget initialization failed:', error); }}function injectStyle(shadowRoot: HTMLElement) { const link = document.createElement('link'); link.rel = 'stylesheet'; link.href = process.env.WIDGET_CSS_URL || '/style.css'; shadowRoot.appendChild(link);}function getClientKey() { const script = document.currentScript as HTMLScriptElement; const clientKey = script?.getAttribute('data-client-key'); if (!clientKey) { throw new Error('Missing data-client-key attribute'); } return clientKey;}initializeWidget();
Reading Script Tag Attributes
The getClientKey() function extracts configuration from the script tag that loaded the widget:
<script src="https://cdn.example.com/widget.js" data-client-key="client_abc123"></script>Use document.currentScript to access the loading script, then read data-* attributes via getAttribute() or the dataset property:
const clientKey = document.currentScript.dataset.clientKey;This pattern lets you pass customer IDs, feature flags, or any configuration without requiring API calls at load time.
Build Scripts
Add these scripts to package.json:
{ "scripts": { "dev": "vite", "build:widget": "rollup -c ./rollup.config.mjs", "build:widget:production": "rollup -c ./rollup.config.mjs --environment=production", "serve": "npx http-server ./ --cors -p 3333", "serve:widget": "npx http-server ./dist --cors -p 3334" }}Environment Configuration
Development (.env.development)
WIDGET_NAME=widget.jsWIDGET_CSS_URL=http://localhost:3334/style.cssProduction (.env.production)
WIDGET_NAME=widget.jsWIDGET_CSS_URL=https://your-cdn.com/widget.cssTesting the Widget
Option 1: Use Vite for Development
Import the widget container directly into your Vite app for hot reload during development:
src/App.tsx
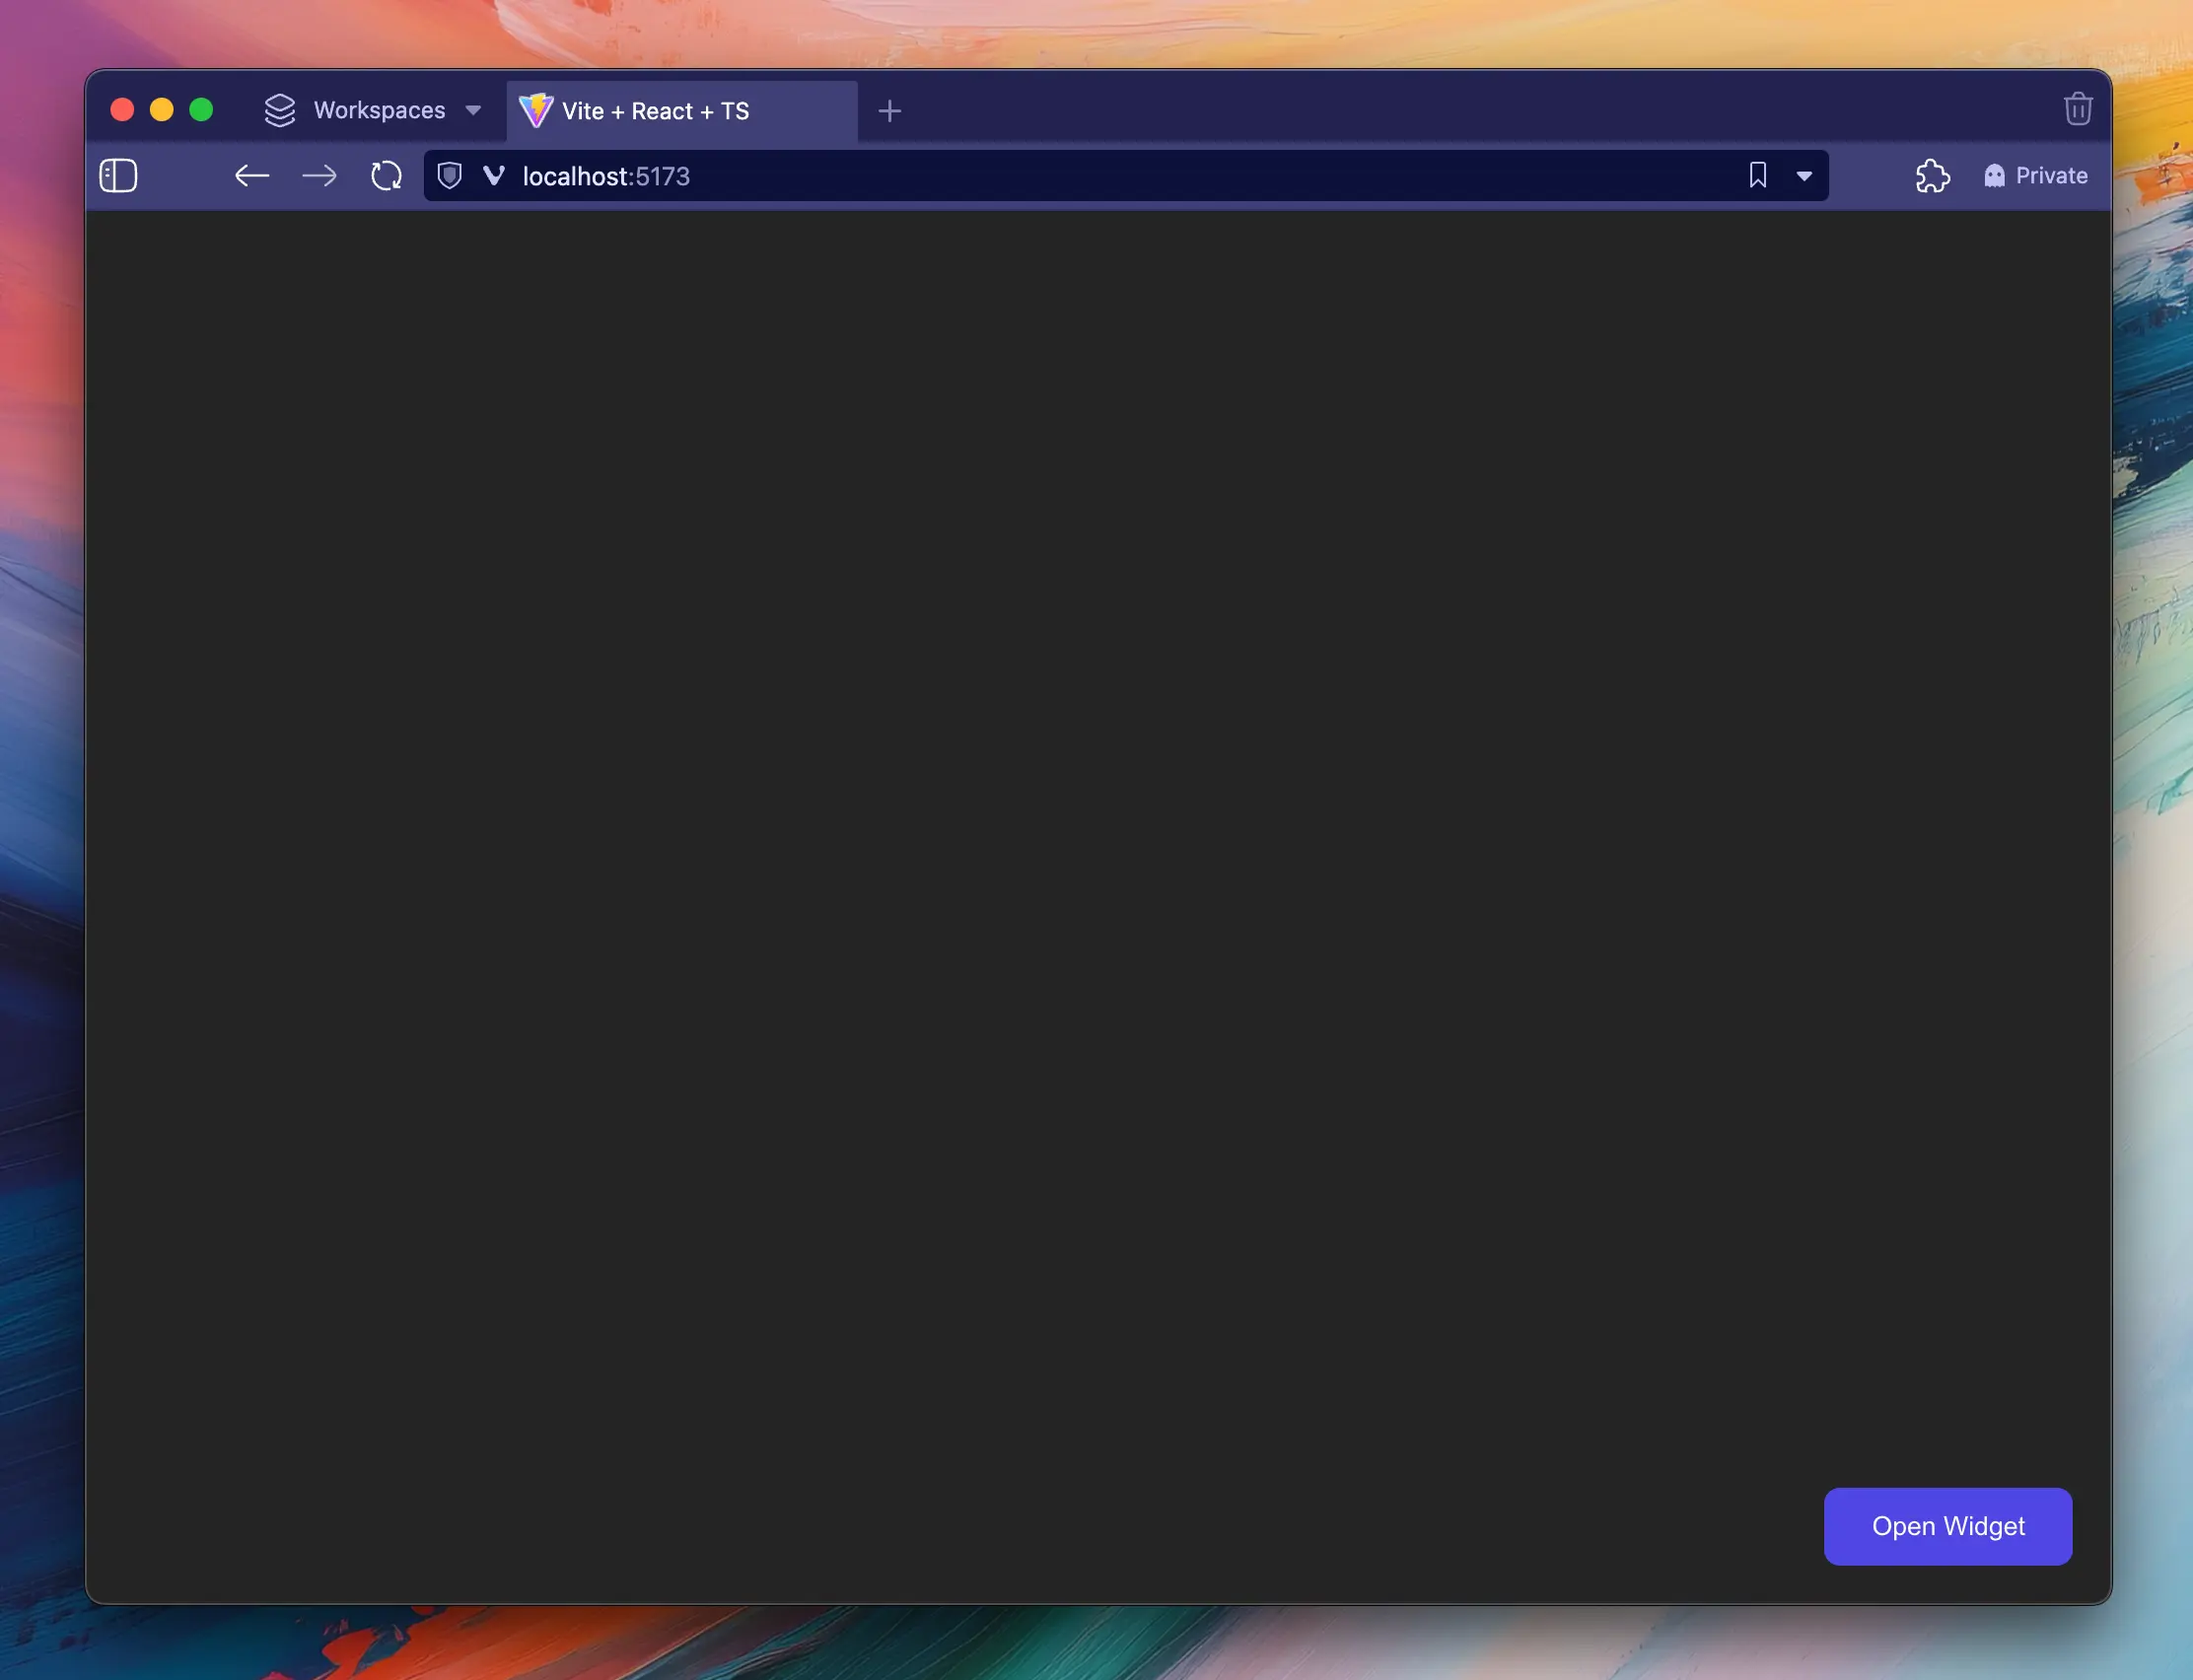
import './App.css';import './widget/styles/style.css';import { WidgetContainer } from './widget/components/widget-container';function App() { return <WidgetContainer clientKey="test-key" />;}export default App;Run npm run dev and you'll see the widget with instant feedback on changes.

Option 2: Test the Bundled Widget
Create a test HTML file to verify the production bundle works:
test/index.html
<!DOCTYPE html><html lang="en"><head> <meta charset="UTF-8"> <title>Widget Test Page</title></head><body> <h1>Test Page</h1> <p>This page tests the widget integration.</p> <script async src="../dist/widget.js" data-client-key="test-key"></script></body></html>Build and serve:
npm run build:widgetnpm run serve &npm run serve:widget &Open http://localhost:3333/test/index.html to see the bundled widget running.
Production Deployment
Build for production:
npm run build:widget:productionThe dist/ folder contains:
widget.js- The production bundlestyle.css- The production styles
Upload these to your CDN. Your customers embed the widget with:
<script src="https://your-cdn.com/widget.js" data-client-key="CUSTOMER_KEY"></script>Common Pitfalls
These cost us a full afternoon of debugging when building widgets for MakerKit. Learn from our pain:
Using createRoot instead of hydrateRoot: Causes a double-render flicker on some browsers. The entry point above uses hydrateRoot for smoother initialization.
Forgetting mode: 'open' on Shadow DOM: Using mode: 'closed' prevents your customers from debugging issues on their site. Keep it open unless you have specific security requirements.
Not handling document.currentScript being null: If your script loads with async or defer, document.currentScript may be null by the time your code runs. The entry point above handles this gracefully.
CSS-in-JS performance in Shadow DOM: We initially used styled-components but found that injecting styles into Shadow DOM added 150-200ms to initialization. Extracted CSS with Tailwind loads via a standard <link> tag and performs better.
Assuming z-index: 9999 is enough: Some sites use higher values. Test on real customer sites early, and consider making z-index configurable via data attributes.
Production Considerations
Performance
- A basic widget with Tailwind should be ~45KB gzipped
- Lazy load non-critical components (modals, settings panels)
- Use
terserfor minification (already configured above)
Browser Compatibility
The config targets >0.1%, not dead, not op_mini all. Test on Chrome, Firefox, Safari, and Edge. Shadow DOM has 96% browser support globally, so you're covered unless you need IE11 (in which case, good luck).
Security
- Validate the
data-client-keyon your backend - Set appropriate CORS headers on your API endpoints (see our guide on securing Next.js Server Actions for patterns)
- Consider CSP implications for sites embedding your widget
Error Handling
Wrap initialization in try/catch (done above). Use a lightweight error reporting service like Sentry's browser SDK. The cardinal rule: fail silently rather than breaking the host page. Your widget is a guest on someone else's site.
Next Steps
This guide covers the foundation. For a complete implementation including real-time chat functionality, API integration with Next.js, message persistence with Supabase, and OpenAI-powered ticket titles, check out the MakerKit course module on building JavaScript widgets.
The complete source code for this tutorial is available on GitHub.