Using pagination with Firebase Firestore and React.js is not as simple as it looks; I know, as it's given me more than a headache.
Unfortunately, Firestore has an important limitation: in fact, we cannot paginate data using numerical indexes.
For example, we cannot make a query that takes our data from index 20 to index 40. Instead, our starting point will need to be a document snapshot: this makes it impossible to paginate data by a specific page, but, instead, we can opt for a sequential pagination.
In this article, I want to show you the simplest way to paginate your Firestore data in a table, with the possibility of going back and forth between pages.
Many of the examples below will use Makerkit's components: these are simple implementation details, so just ignore them if you're not using Makerkit.
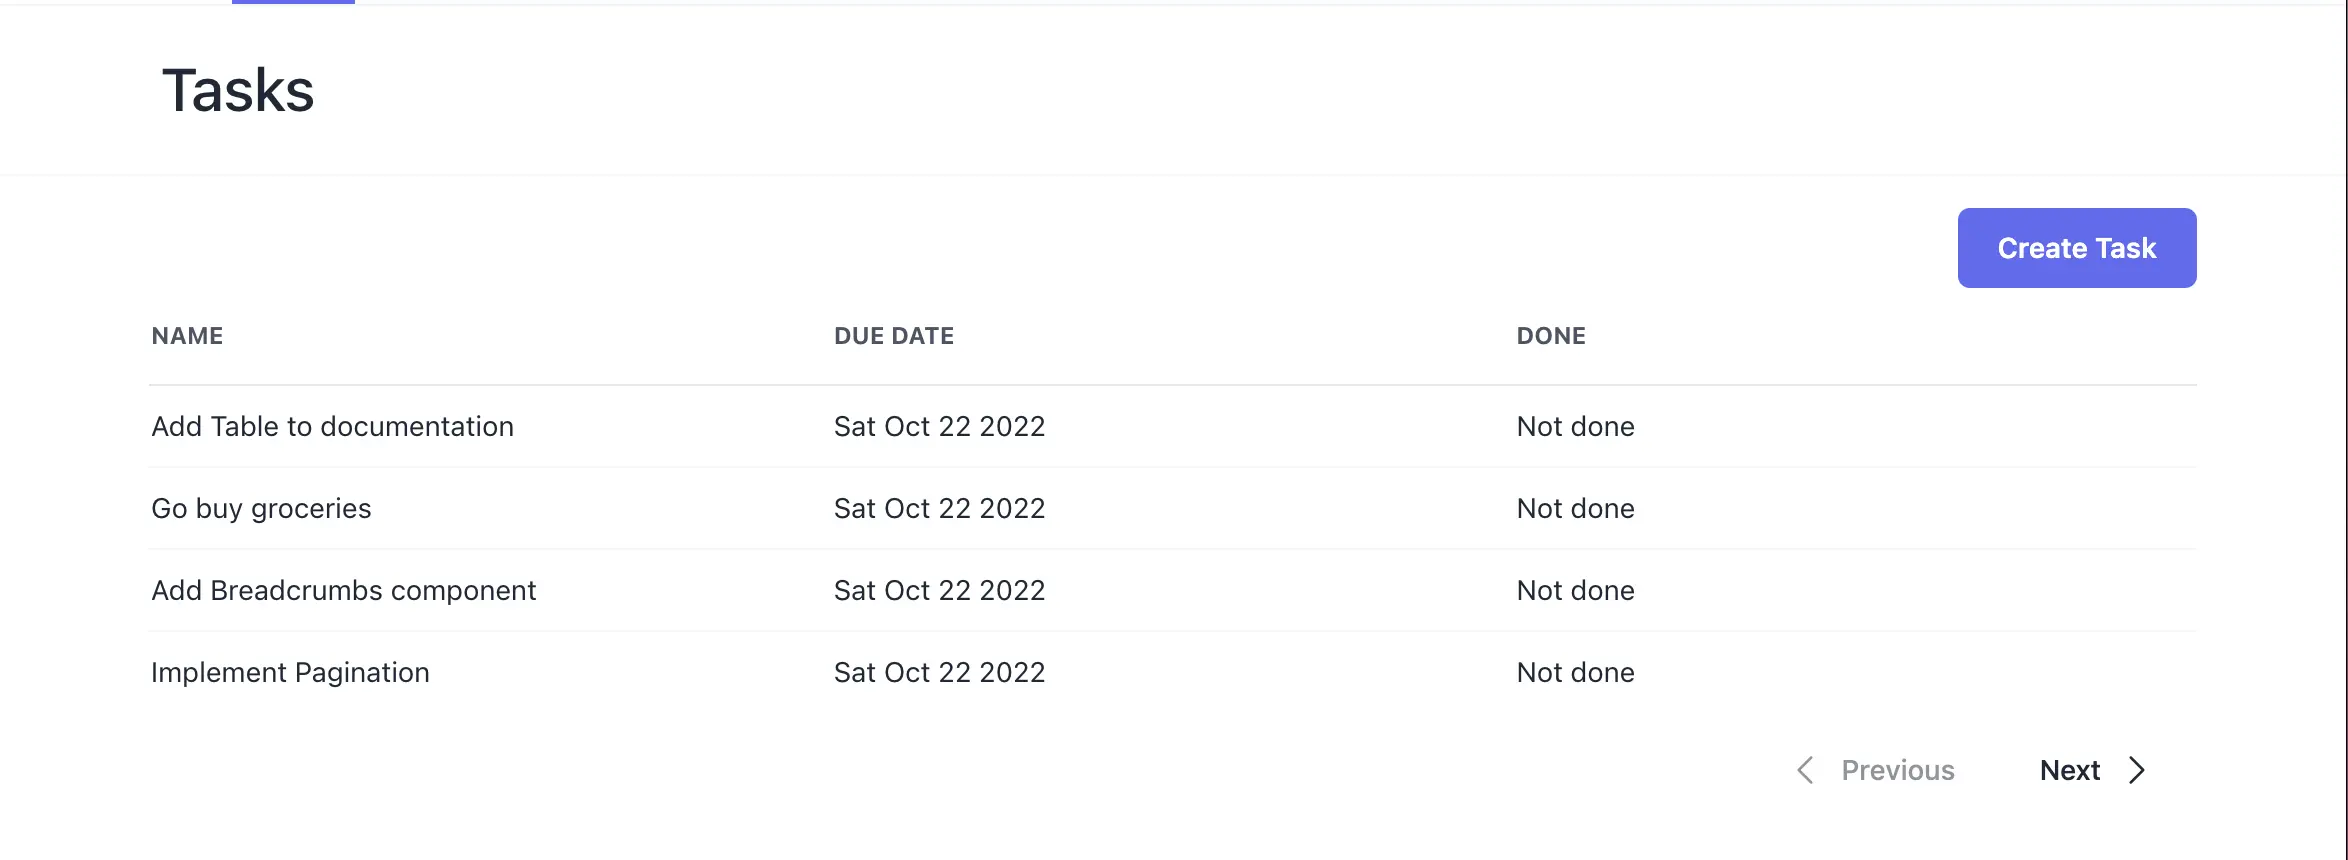
The final result will look like the image below:
Writing Paginated queries with Firestore
Let's assume that we want to make a query to the tasks collection by a couple of parameters:
- we will query the tasks that have an
organizationIdproperty that matches the argumentorganizationId - we will paginate them ordered by the property
dueDate - we will use two parameters to control the pagination:
cursoranditemsPerPage
import { useFirestore, useFirestoreCollection } from 'reactfire';import { collection, CollectionReference, limit, orderBy, startAfter, query, where, DocumentSnapshot,} from 'firebase/firestore';import { Task } from '~/lib/tasks/types/task';function useFetchTasks( organizationId: string, params: { cursor: Maybe<DocumentSnapshot>; itemsPerPage: number; }) { const firestore = useFirestore(); // collection path const tasksCollection = 'tasks'; // we order tasks by the "dueDate" property const order = orderBy('dueDate', 'desc'); const path = `organizationId`; const operator = '=='; // create default constraints const constraints = [ where(path, operator, organizationId), order, limit(params.itemsPerPage), ]; // if cursor is not undefined (e.g. not initial query) // we pass it as a constraint if (params.cursor) { constraints.push( startAfter(params.cursor) ); } const collectionRef = collection( firestore, tasksCollection ) as CollectionReference<WithId<Task>>; const organizationsQuery = query(collectionRef, ...constraints); return useFirestoreCollection(organizationsQuery, { idField: 'id', });}export default useFetchTasks;We are going to use the custom hook above to fetch data from the tasks collection. But first, let's create a new custom hook: useFetchTasksCount.
Counting the documents of a Firestore Collection
As of October 2022, this feature has just been released by Firebase: counting how many documents are in a Firestore collection.
Thanks to this new functionality, we will know if we can continue paginating our documents generally, it's also a good UX practice to show how many documents the user can scroll through.
To count the total number of documents in a Firestore collection we are going to use the function getCountFromServer: this function accepts a Firestore query and will return the number of documents found according to the query.
In our case, we want to collect the total count of tasks given the organizationId passed as parameter.
import { useCallback } from 'react';import { useFirestore } from 'reactfire';import { where, getCountFromServer, query, collection, CollectionReference,} from 'firebase/firestore';import { Task } from '~/lib/tasks/types/task';const tasksCollection = 'tasks';const path = `organizationId`;const operator = '==';function useFetchTasksCount() { const firestore = useFirestore(); return useCallback( (organizationId: string) => { const constraints = [where(path, operator, organizationId)]; const collectionRef = collection( firestore, tasksCollection ) as CollectionReference<WithId<Task>>; return getCountFromServer( query(collectionRef, ...constraints) ); }, [firestore] );}export default useFetchTasksCount;Paginated Table with Firestore and React.js
Now, we can finally use our custom hooks to fetch data from our Firestore collections and display it in a simple table.
We create two components: a table named TasksTable and a pagination component named Pagination.
- The table component is responsible for fetching and displaying the data
- The pagination component will render the buttons to go back and forth, and will notify the table component when the page is changed
We're going to use one single state property for handling re-renderings: the page state. When this property changes (using the user's input), the component will update the cursor and fetch the new data.
const itemsPerPage = 4;const TasksTable: React.FC<{ organizationId: string;}> = ({ organizationId }) => { const [page, setPage] = useState(0); // keep cursors in memory const cursors = useRef<Map<number, DocumentSnapshot>>(new Map()); // use query fetching const { data, status } = useFetchTasks(organizationId, { cursor: cursors.current.get(page), itemsPerPage, }); // collect all the tasks JSON data const tasks = useMemo(() => { return data?.docs?.map((doc) => doc.data()) ?? []; }, [data]); // callback called when changing page const onPageChanged = useCallback( (nextPage: number) => { setPage((page) => { // first, we save the last document as page's cursor cursors.current.set( page + 1, data.docs[data.docs.length - 1] ); // then we update the state with the next page's number return nextPage; }); }, [data] ); if (status === `loading`) { return <span>Loading Tasks...</span>; } return ( <div className={'flex flex-col space-y-2'}> <table className={'Table'}> <thead> <tr> <th>Name</th> <th>Due Date</th> <th>Done</th> </tr> </thead> <tbody> {tasks.map((task) => { return ( <tr key={task.name}> <td>{task.name}</td> <td>{task.dueDate}</td> <td>{task.done ? `Done` : `Not done`}</td> </tr> ); })} </tbody> </table> <Pagination currentPage={page} organizationId={organizationId} pageChanged={onPageChanged} /> </div> );};export default TasksTable;Let's explain the above.
We keep two stateful constants: page and cursors.
pagerepresents the current page. Only thepagestate will trigger re-renderings.cursorsrepresents a map page->cursor. We need the cursor because we use it to retrieve the tasks of a certain page. To prevent re-renderings,cursorsis a reference.
const [page, setPage] = useState(0);// keep cursors in memoryconst cursors = useRef<Map<number, DocumentSnapshot>>(new Map());Then, we use the custom React hook above to fetch the paginated data from Firestore.
As you can see below, we pass the page's cursor based on the page state:
// use query fetchingconst { data, status } = useFetchTasks(organizationId, { cursor: cursors.current.get(page), itemsPerPage,});// collect all the tasks JSON dataconst tasks = useMemo(() => { return data?.docs?.map((doc) => doc.data()) ?? [];}, [data]);Finally, we listen to the Pagination component's callback that will notify us when the user changes page.
Of course, we set the page state to the new page. It's also important to notice that it's in this callback that we set the cursors for the current page. In this way, we avoid re-renderings. When the component re-renders, it will pick up the correct cursor for the current page.
// callback called when changing pageconst onPageChanged = useCallback( (nextPage: number) => { setPage((page) => { // first, we save the last document as page's cursor cursors.current.set( page + 1, data.docs[data.docs.length - 1] ); // then we update the state with the next page's number return nextPage; }); }, [data]);Now, let's take a look at the pagination component:
function Pagination( props: React.PropsWithChildren<{ organizationId: string; currentPage: number; pageChanged: (page: number) => unknown; }>) { const fetchTaskCount = useFetchTasksCount(); const [tasksCount, setTasksCount] = useState<number>(); useEffect(() => { // when the component mounts, we store the tasks count in the state fetchTaskCount(props.organizationId).then((result) => { setTasksCount(result.data().count); }); }, [fetchTaskCount, props.organizationId]); if (tasksCount === undefined) { return <div>Loading...</div>; } const totalPages = Math.floor(tasksCount / itemsPerPage); const canGoBack = props.currentPage >= 1; const canGoNext = props.currentPage < totalPages; return ( <div className={'flex flex-row justify-end space-x-0.5'}> <Button color={'transparent'} disabled={!canGoBack} onClick={() => props.pageChanged(props.currentPage - 1)} > <span className={'flex items-center space-x-2'}> <ChevronLeftIcon className={'h-5'} /> <span>Previous</span> </span> </Button> <Button color={'transparent'} disabled={!canGoNext} onClick={() => props.pageChanged(props.currentPage + 1)} > <span className={'flex items-center space-x-2'}> <span>Next</span> <ChevronRightIcon className={'h-5'} /> </span> </Button> </div> );}Demo
Below is the final result using the Makerkit's components: